Adobe Captivate 2019 Smart Video Recording with Automatic Chroma Key Effects
In the latest release of Adobe Captivate, it has an option of Smart Video Recording wherein you can record your video through webcam and simultaneously you can also capture the screen for your video-based learning. Besides this, you can edit your video using Automatic Chroma Key feature and replace the background of the video or make it completely transparent. You can choose any of the backgrounds that comes with the tool or you can import the free backgrounds of your own. Once you are done with the recording you get a preview window to customize the captured video before publishing.
Let’s see step-by-step procedure for Smart Video Recording:
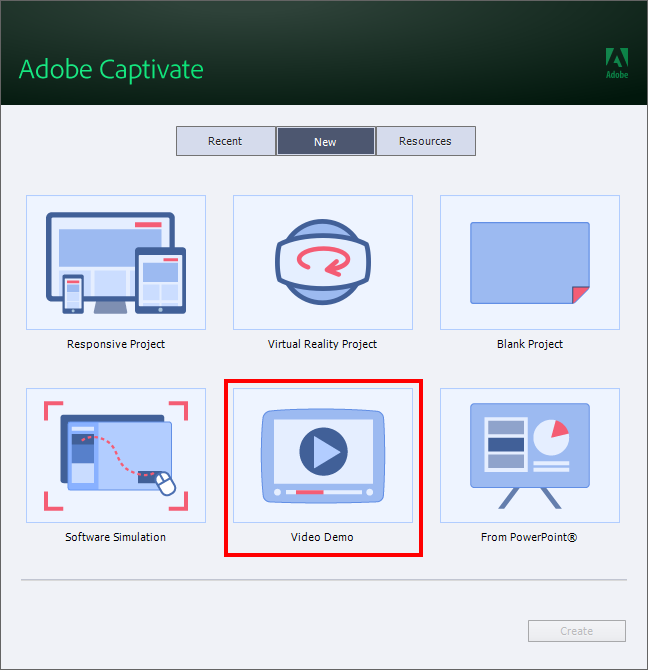
- Launch Adobe Captivate 2019 and on the welcome screen click the Video Demo option.
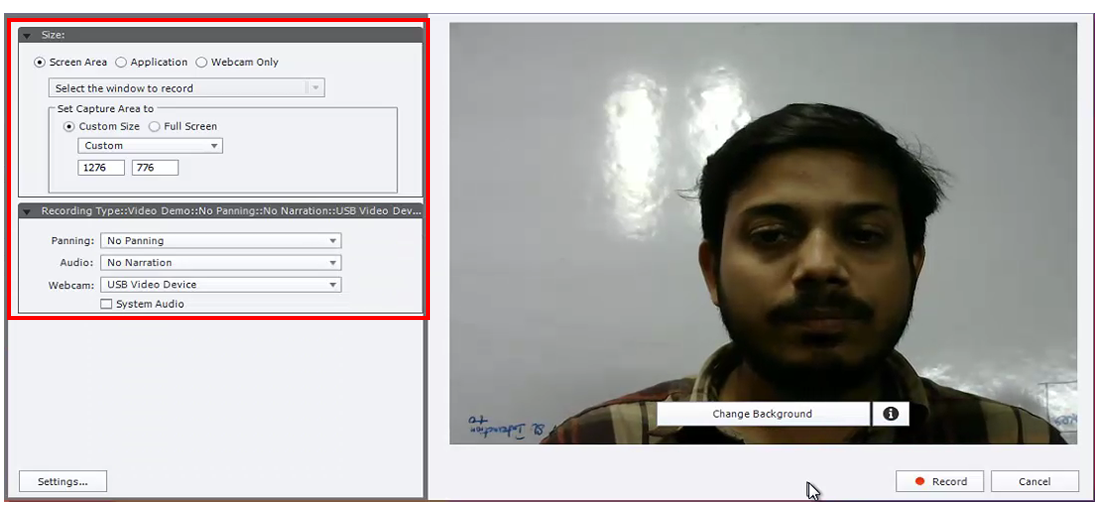
- A popup “Video Capture dialog” will appear on the screen. Here in the left side of the screen you need to adjust the details of screen area, set capture area to and enable both microphone and system audio and automate panning.
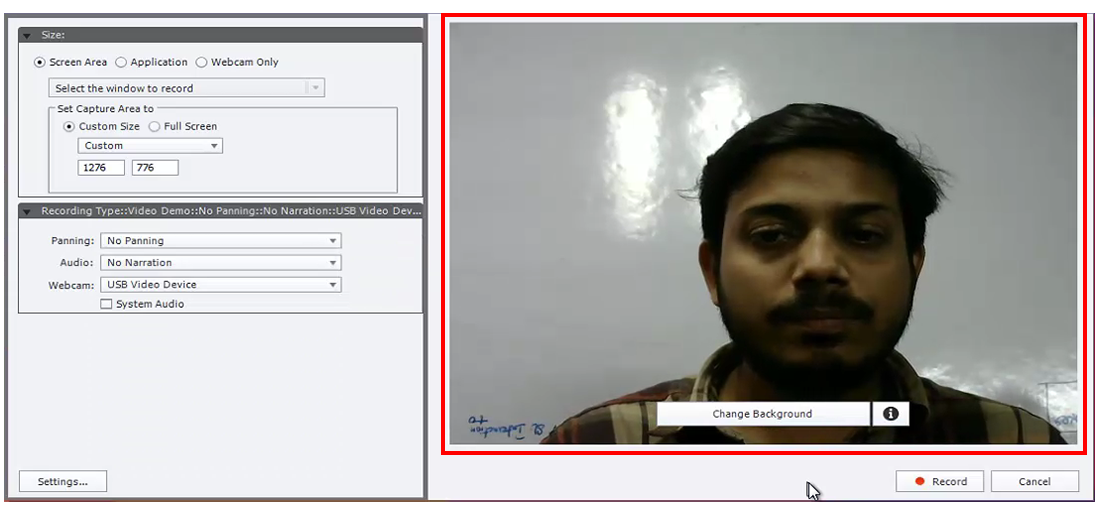
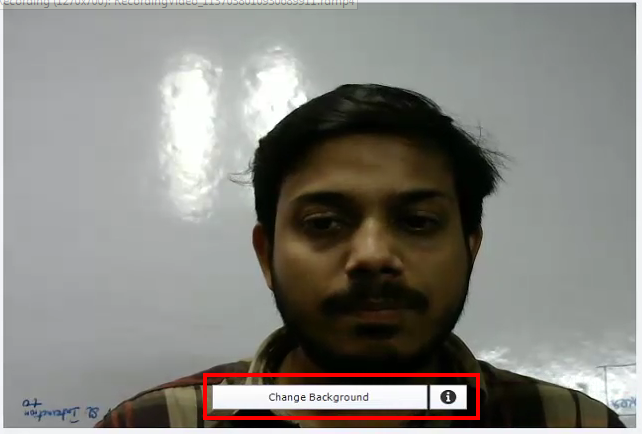
- In the right side of the screen, you can see your webcam image. Here you can start your chroma key process. To do so, click on Change Background button at the bottom of the image preview.
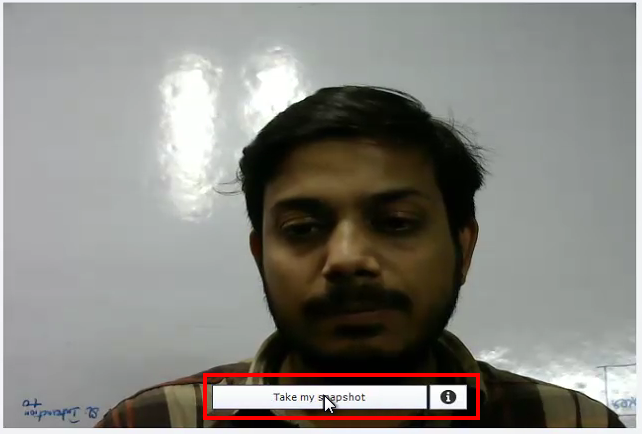
- Then, click on Take my snapshot button.
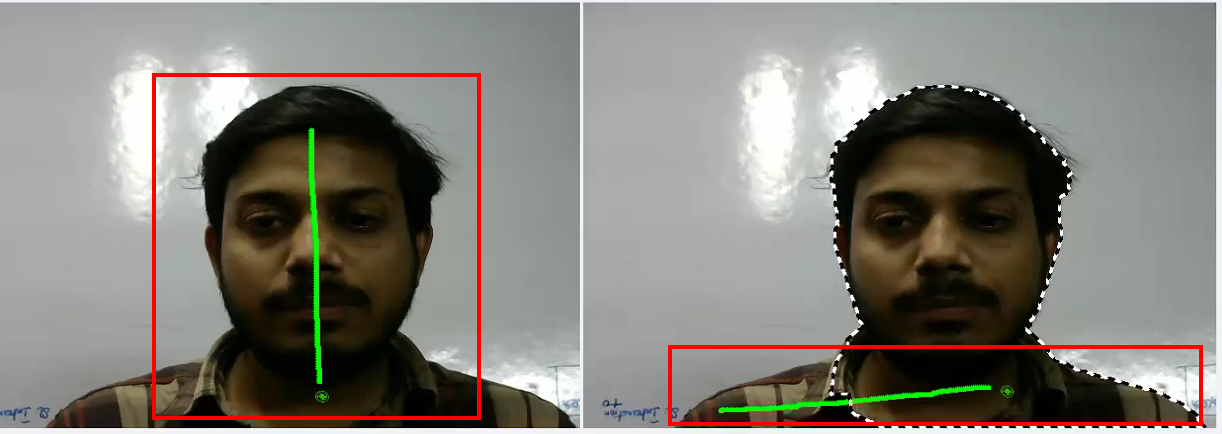
- Now to remove the background, draw a vertical line along your head to the bottom of the screen and then draw a horizontal line across your shoulders.
Note: Keep this points remembered when you are working with chroma settings.
- Wall color should contrast with your shirt color and skin color.
- Need to take care while brushing your hair.
- You can revert and fill the missing elements of your video.
- The color of wall should be solid.
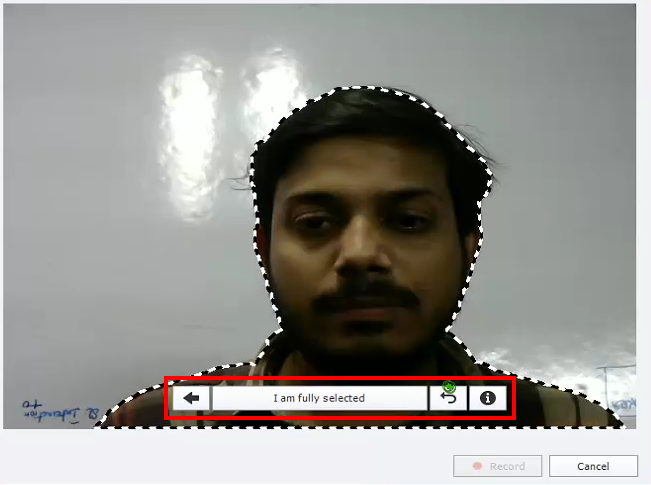
- After that click on I am fully selected option on the image preview.
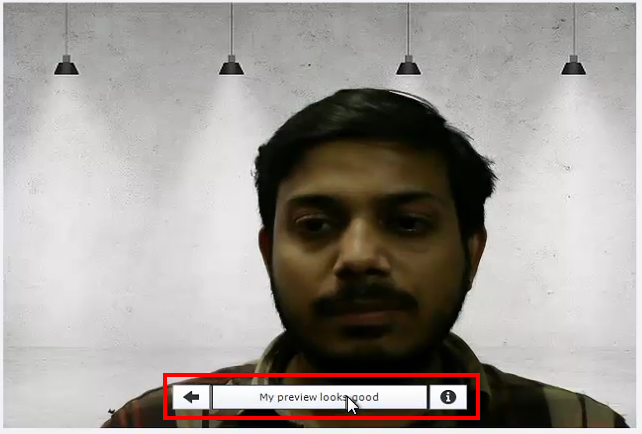
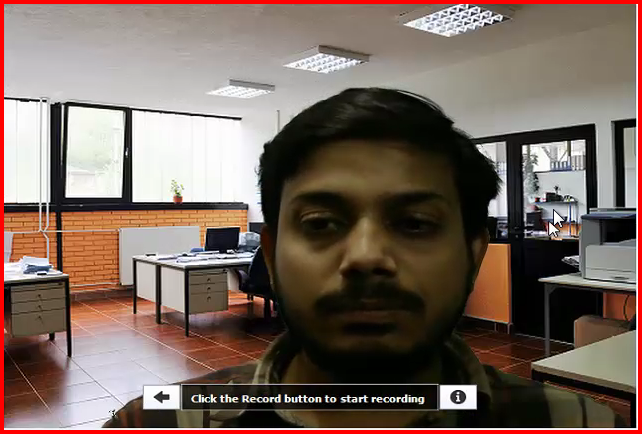
- You can see the preview of your video with a new background. Next, click on My preview looks good button.
- You can also change the background by simply clicking on the background itself.
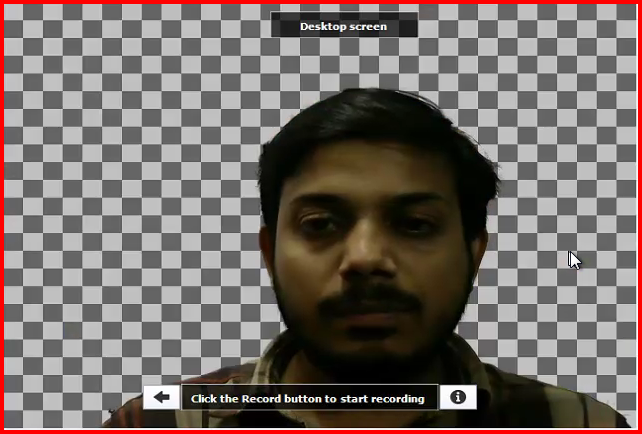
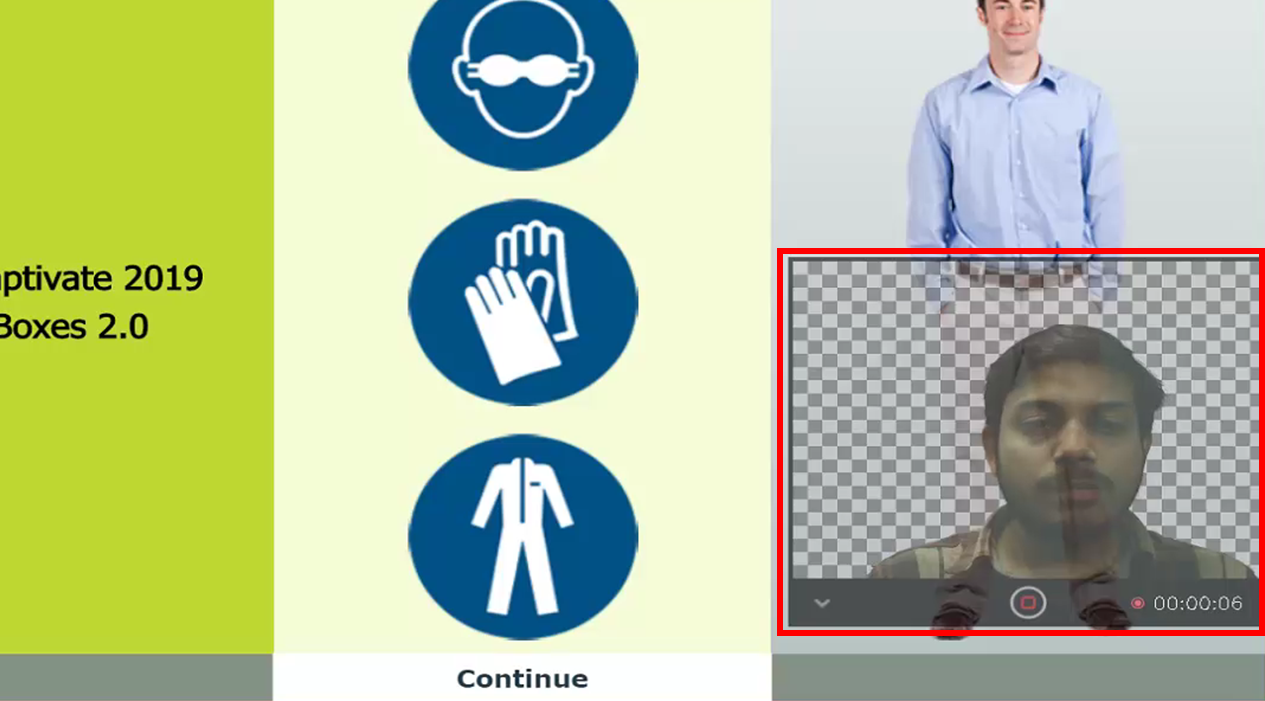
- Even you can have a transparent background to your video and make the project stage as your background. You can achieve this, once you select a checker background.
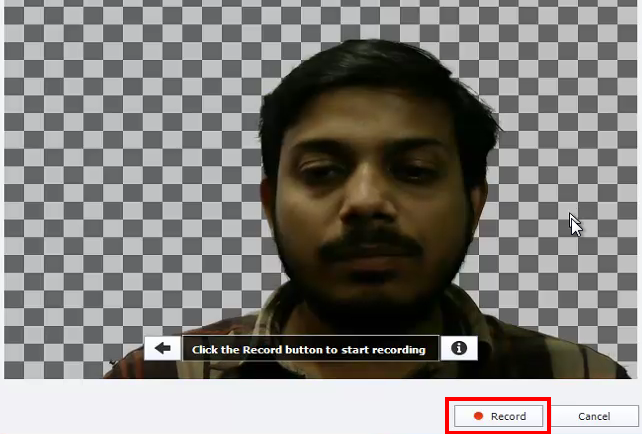
- Once you are done with the chroma key effects, you can click on the Record button.
- Then you can see the recording of webcam and screen capture simultaneously.
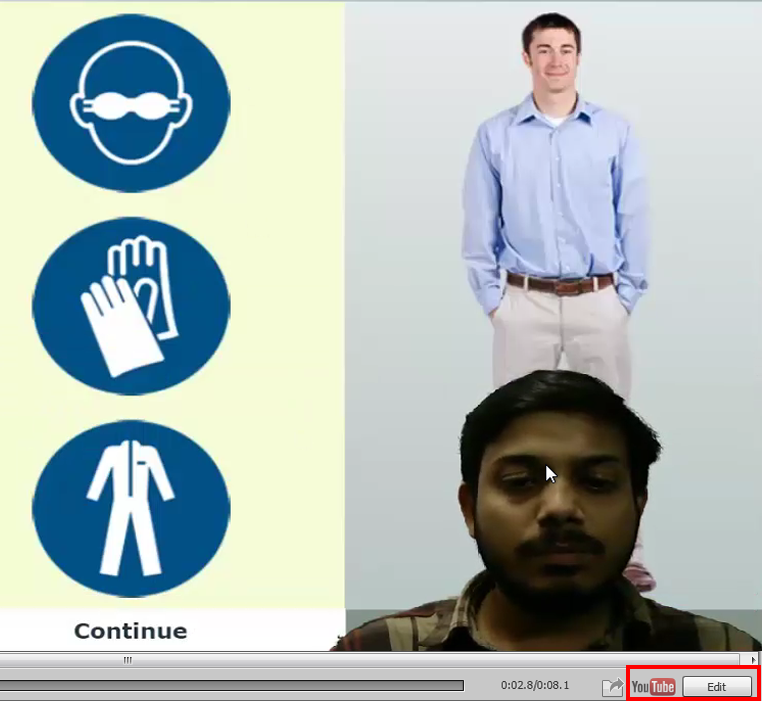
- After completion of the recording, a preview window will appear to Edit the video or to publish the video directly to YouTube.
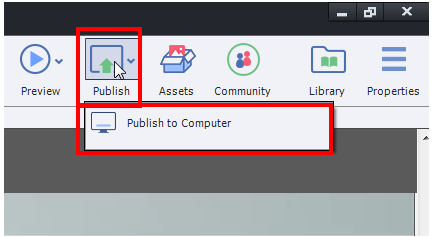
- Finally to Publish, Click on Publish to Computer under Publish tab.
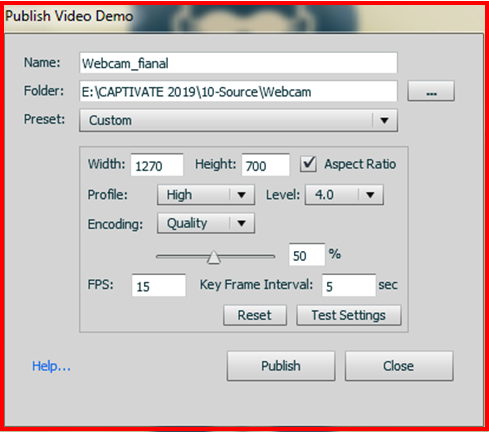
- A popup window, Publish Video Demo will appear on the screen to edit the details of produced video.
I hope this blog provides good pointers on how you can use Captivate 2019 to enhance your video demo features.
Our Services: eLearning Service Provider, Flash to HTML5 Conversion, eLearning Content Development

 Note: Keep this points remembered when you are working with chroma settings.


Leave a Reply
Want to join the discussion?Feel free to contribute!