How to Utilize the Corner Pinning Feature in Camtasia
Click or tap on the play button below to watch the video for easier understanding.
Camtasia, renowned for its eLearning development and screen recording capabilities, is a powerful and versatile video editing software used in creating engaging eLearning solutions. With a wide array of tools at your disposal, including the highly beneficial Corner Pinning feature, it’s an essential asset for Custom eLearning Development.
Corner Pinning in Camtasia is instrumental for seamlessly integrating graphics, text, and other visual elements into specific areas of your video. Whether you are incorporating callout graphics, annotations, or any other Custom eLearning Solutions that require precise placement and tracking within your video, the Corner Pinning feature ensures a professional touch.
This comprehensive guide will walk you through the process, enabling you to master the Camtasia Corner Pinning feature. By the end of this tutorial, you will be equipped to elevate your eLearning projects, crafting captivating and professional-quality content. Unleash the potential of this tool and take your Custom eLearning Development to the next level!
Here is a step-by-step guide on utilizing Camtasia Corner Pinning feature:
Step 1:
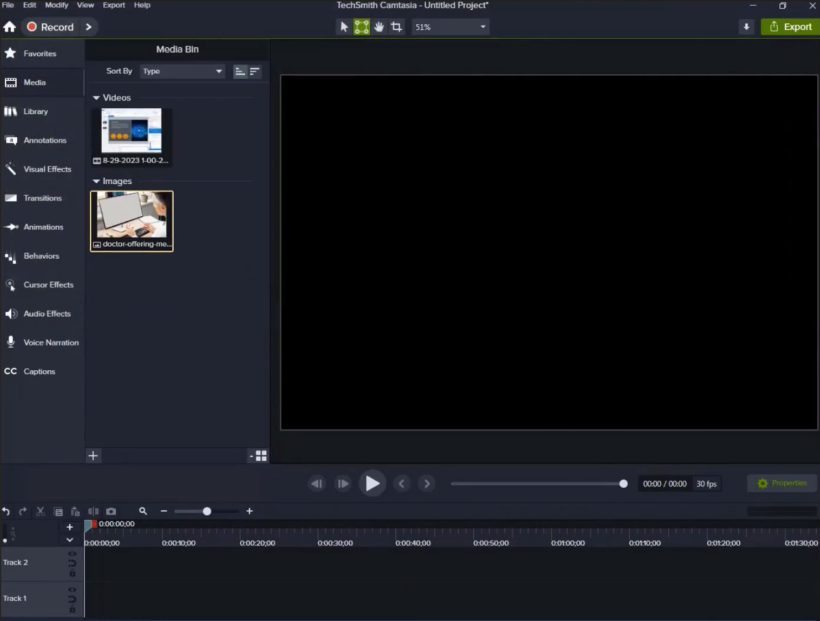
Open the ‘Camtasia’ software and import image and video files.
Step 2:
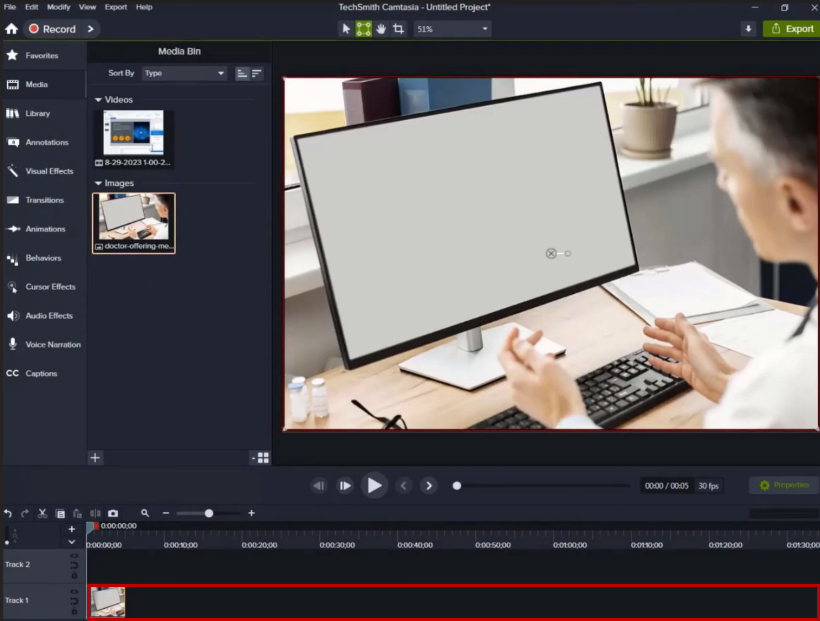
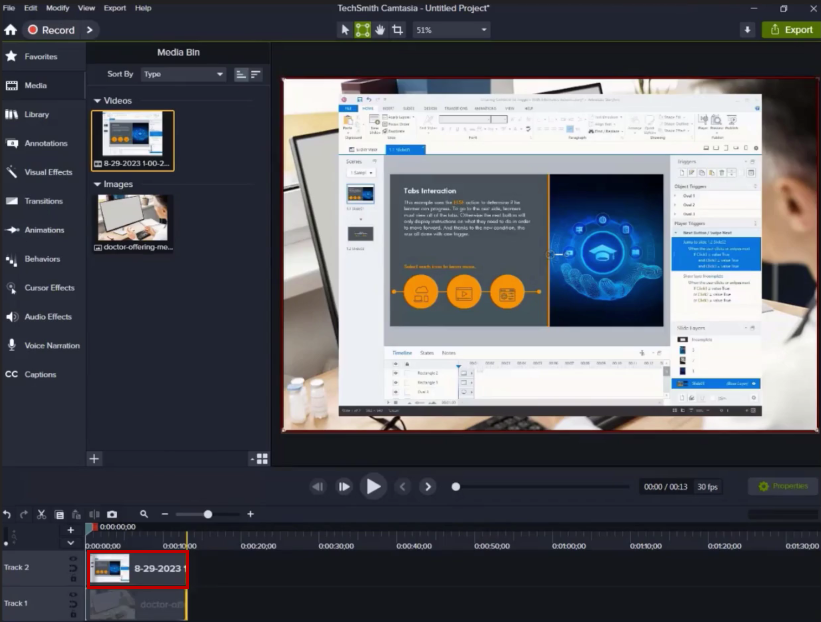
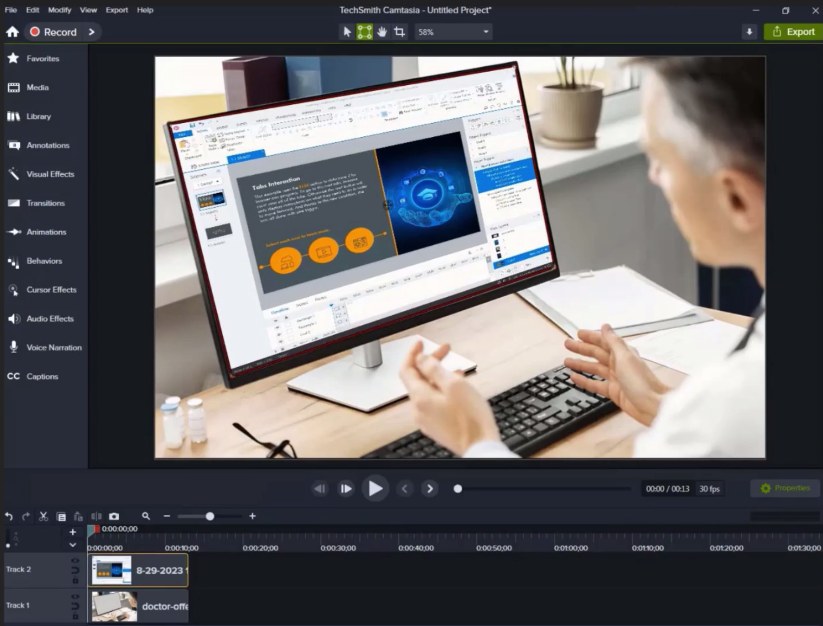
Place the image on track one and the video on track two in the timeline.
Step 3:
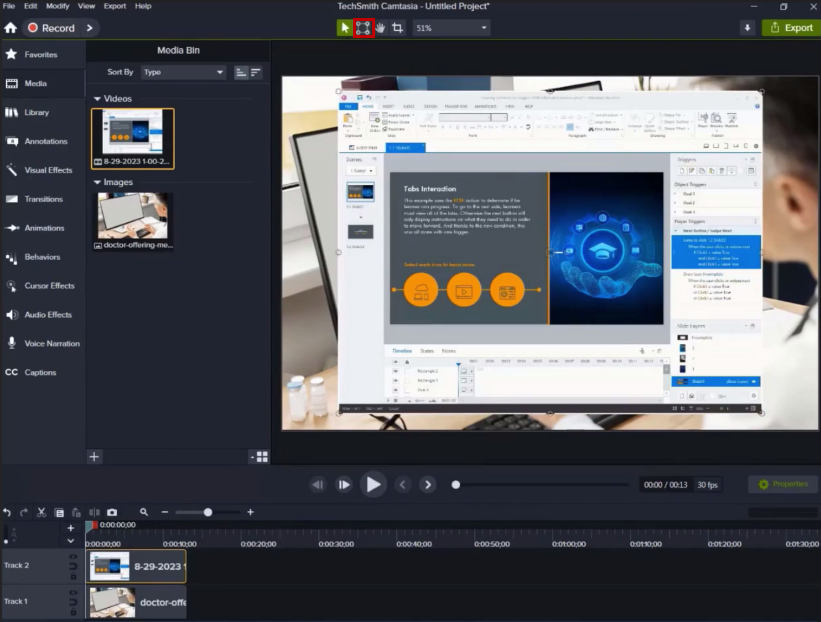
Select the video file from the timeline and click on the ‘Corner Pinning’ icon in the top ribbon.
Step 4:
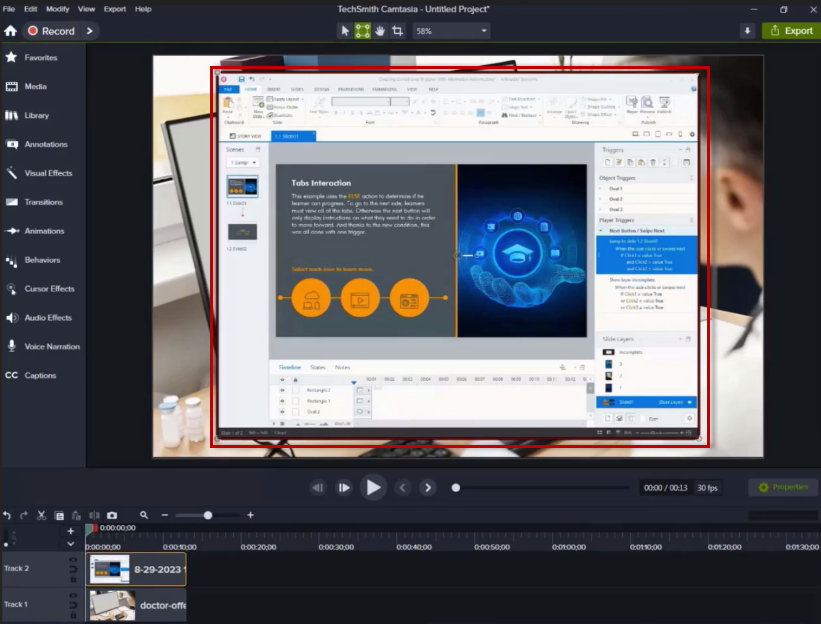
After clicking the ‘Corner Pinning’ icon, you will see four corner pointers for the video.
Step 5:
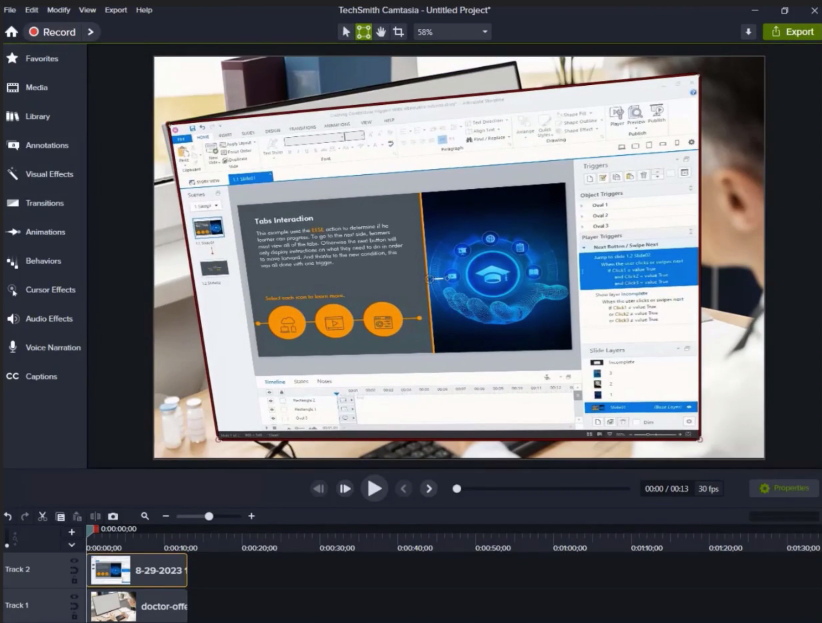
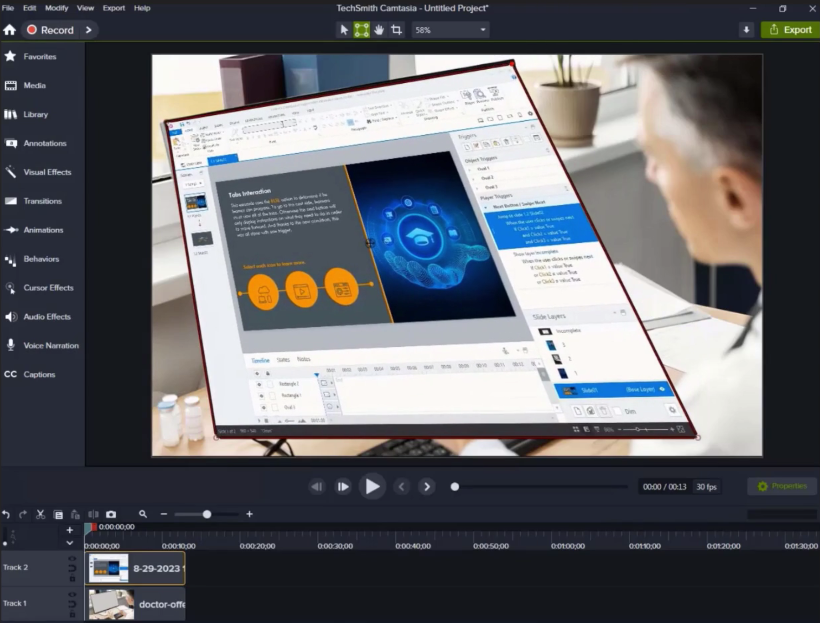
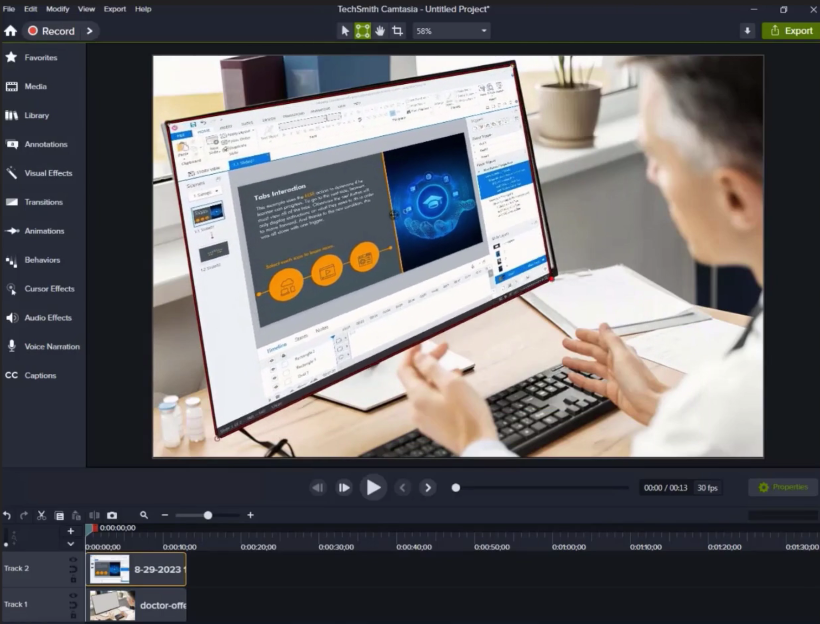
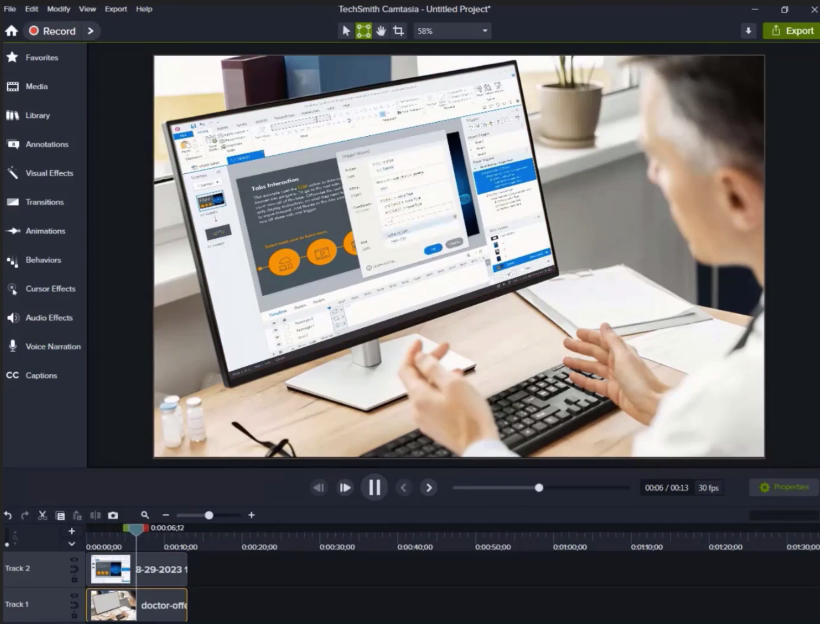
Click on the pointers and adjust them into the corners to fit the desired place and position.
Step 6:
Preview it once, and you will observe the video playing in the desired place without any transformation or blur.
Conclusion:
In this tutorial, we’ve delved into the versatile world of the Camtasia Corner Pinning feature and its potential to elevate your video editing skills. By mastering this tool, you can seamlessly integrate graphics, text, and various elements into your videos, ensuring they align with the natural movements and transformations of your content.
With the knowledge you’ve gained, you’re now well-equipped to create engaging and professional-quality videos. Whether it’s for educational purposes, marketing, or simply personal projects, the Camtasia Corner Pinning feature empowers you to add that extra layer of precision and creativity to your work.
As you continue to practice and experiment with this feature, you’ll discover new ways to captivate your audience and make your videos stand out. Remember, the key to success is practice, so don’t hesitate to dive into your projects and unleash the full potential of Corner Pinning in Camtasia. Your creativity is the only limit to what you can achieve, and we can’t wait to see the amazing content you’ll create.



Leave a Reply
Want to join the discussion?Feel free to contribute!