A Guide to Utilizing the Generative Action Feature in Vyond
Click or tap on the play button below to watch the video for easier understanding.
Vyond’s ground breaking “Generative Action” feature is a game-changer for eLearning development, providing a dynamic and automated solution for custom eLearning within the Vyond Studio.
Seamlessly integrated into the animation timeline, this feature empowers eLearning creators to imbue their projects with realistic and intricate movements, elevating the overall quality of custom eLearning solutions. Accessed through an intuitive interface, users can effortlessly apply generative actions to selected elements, customizing parameters such as duration, intensity, and speed.
The preview option ensures a comprehensive assessment of how these generative actions augment the learning experience before finalization. This feature streamlines the workflow for rapid eLearning solutions, enabling the creation of efficient and engaging corporate learning solutions.
In this guide, we will delve into the intricacies of utilizing Vyond’s Generative Action feature. Whether you’re a seasoned animator or a novice aiming to add an extra layer of dynamism to your creations, this step-by-step walkthrough will assist you in unlocking the full potential of Vyond’s Generative Action feature.
Let’s embark on a journey to elevate your animations and storytelling to new heights.
Step 1:
Begin by opening ‘Vyond’ in your web browser and logging in with your credentials.
Step 2:
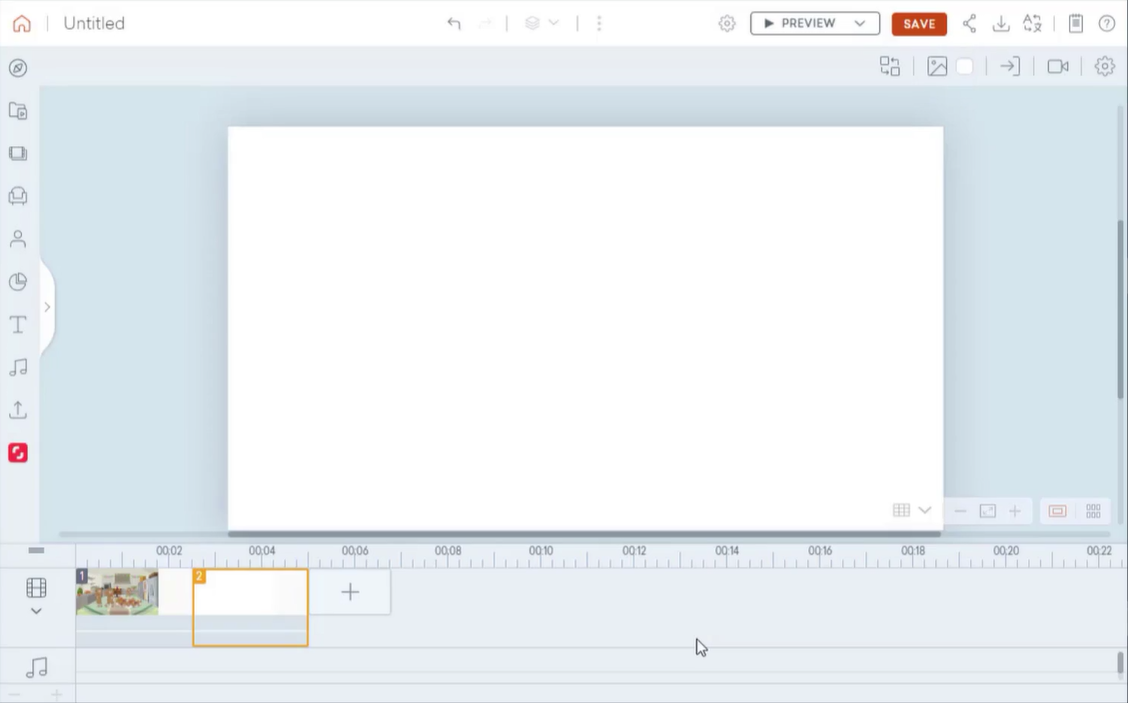
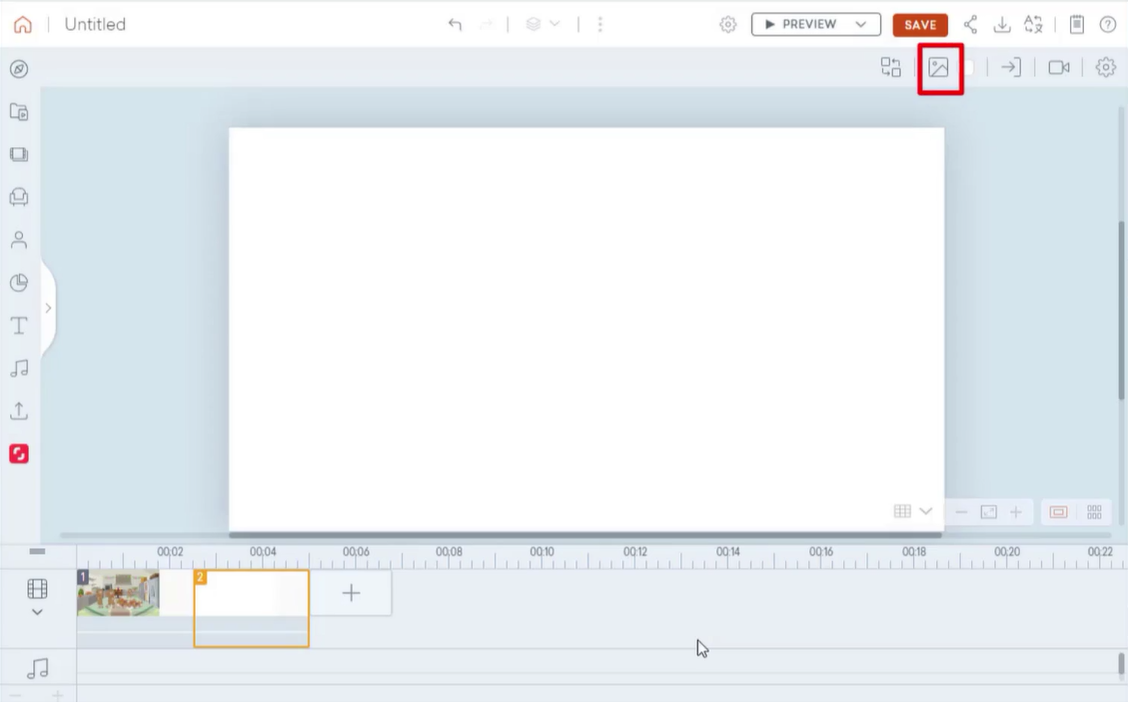
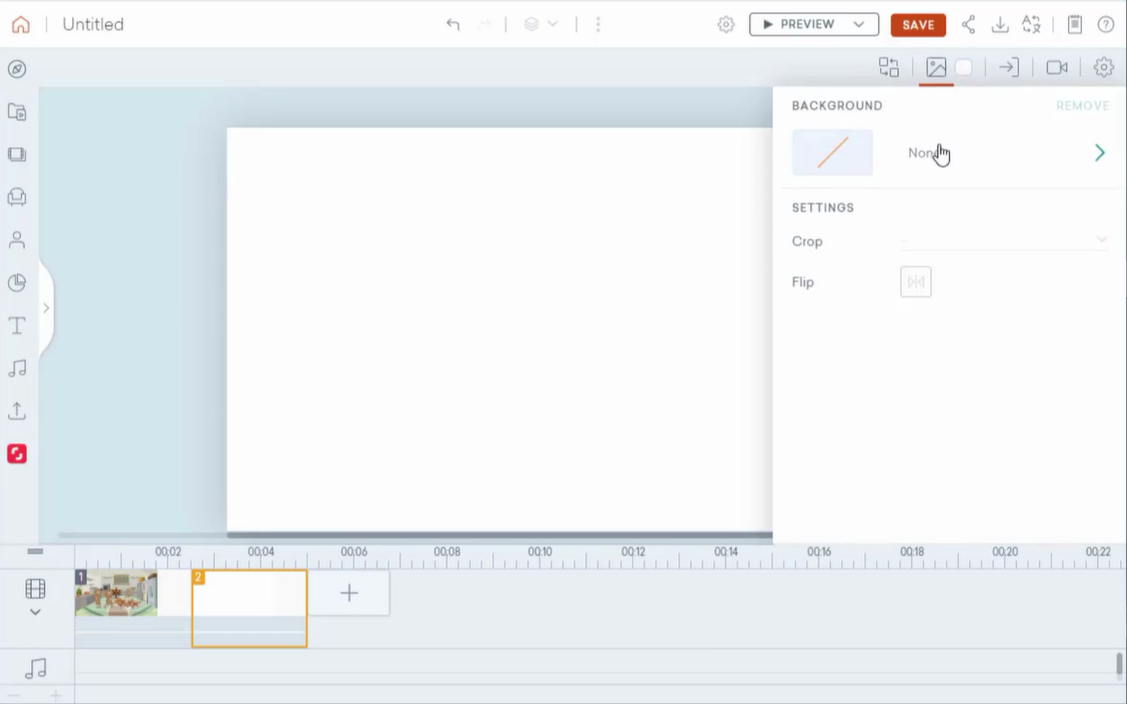
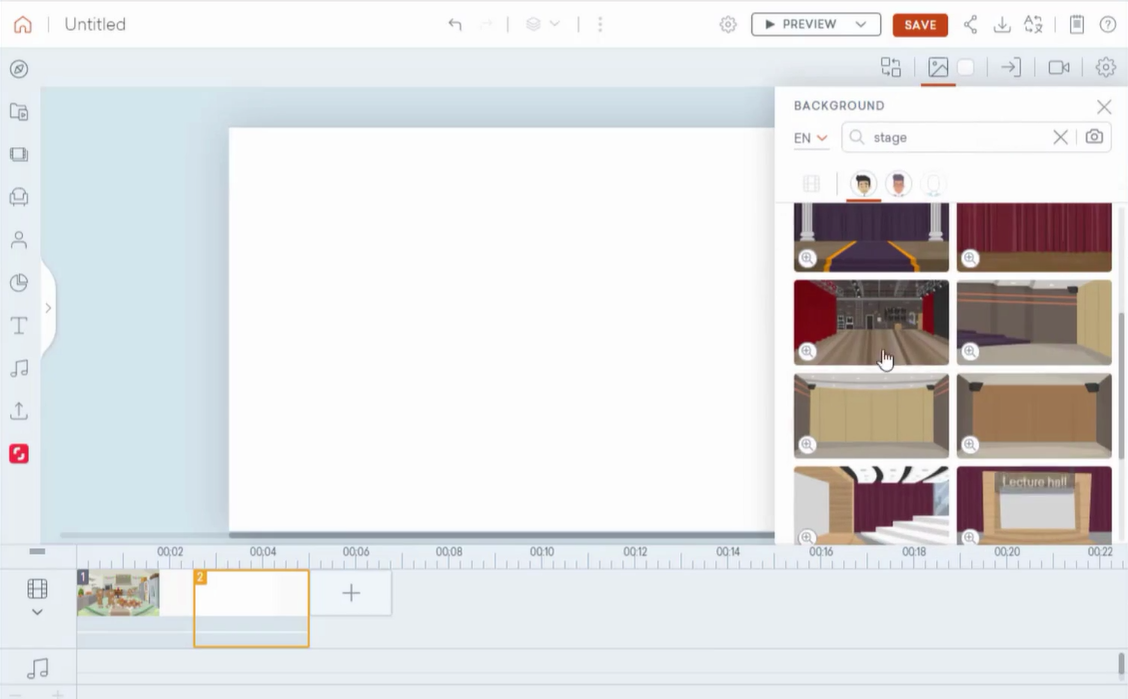
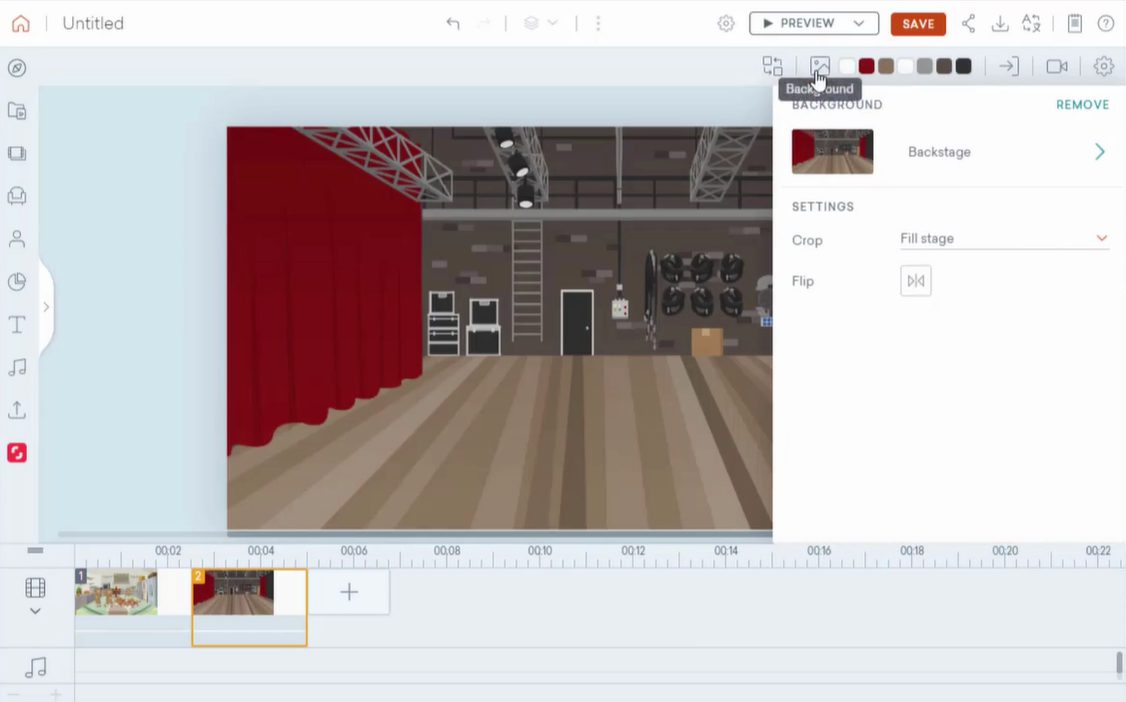
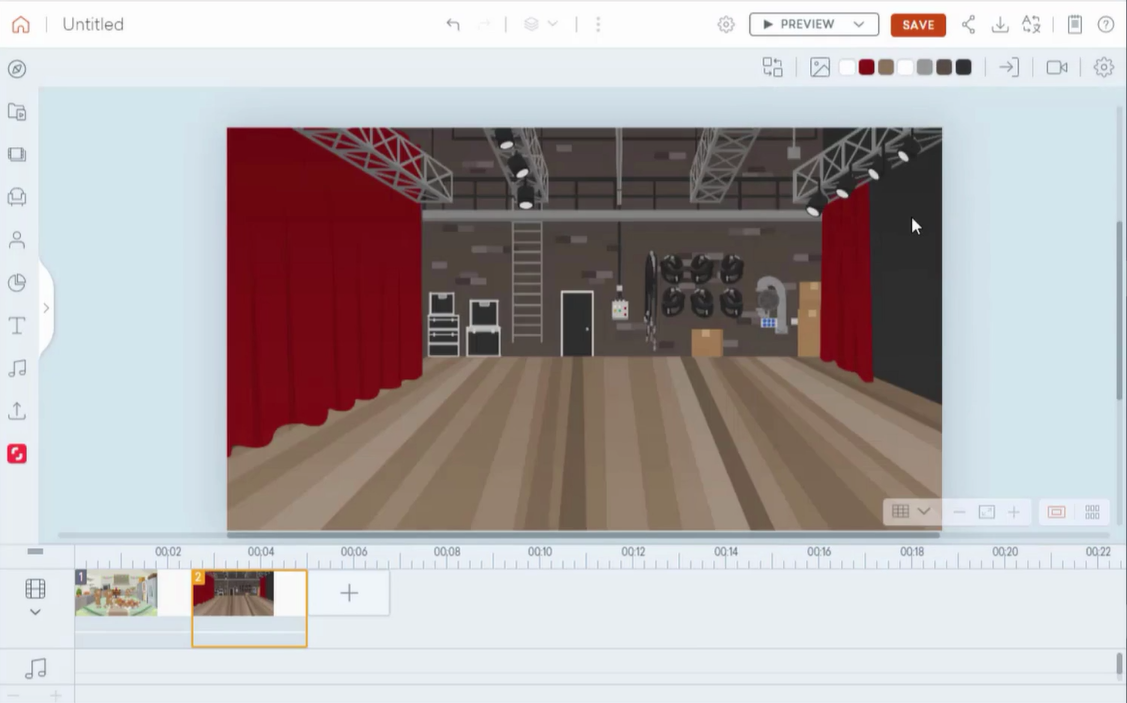
Begin by adding a Background to the screen. Select the background section at the top of the panel.
Step 3:
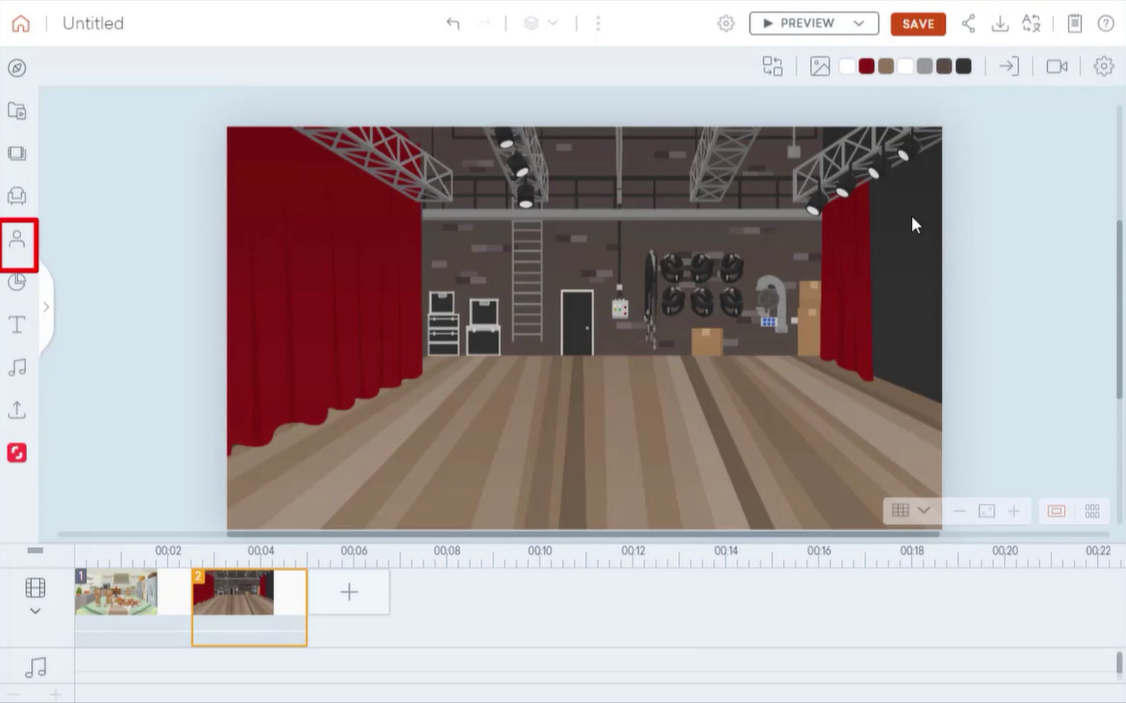
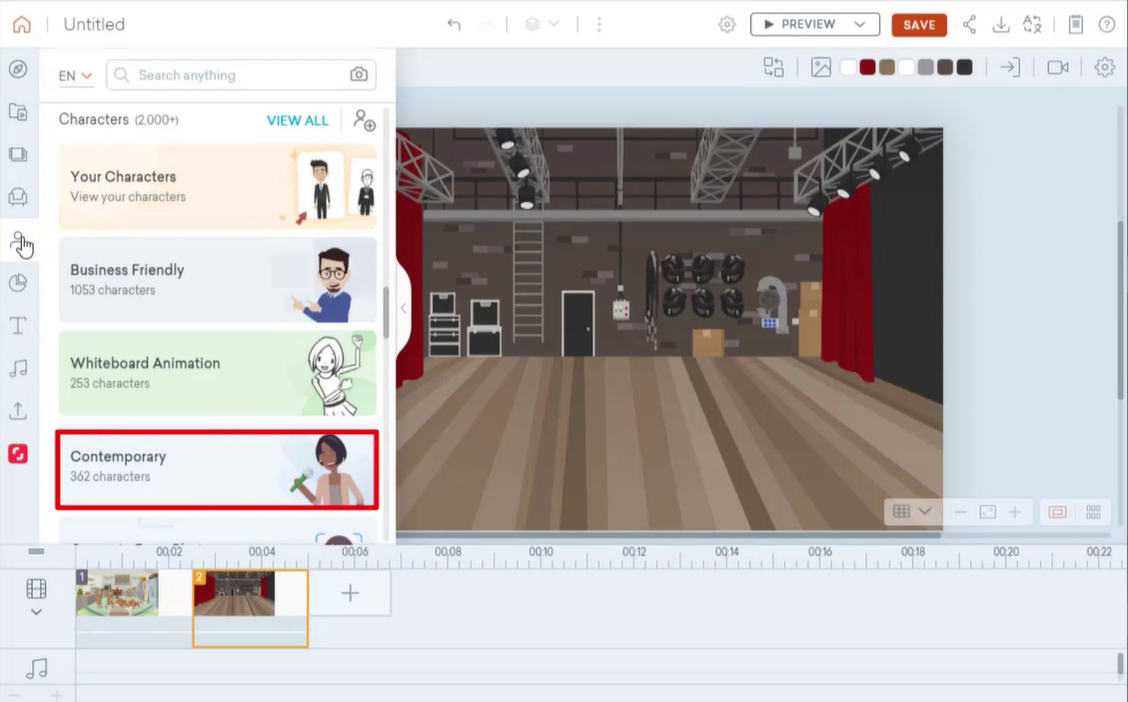
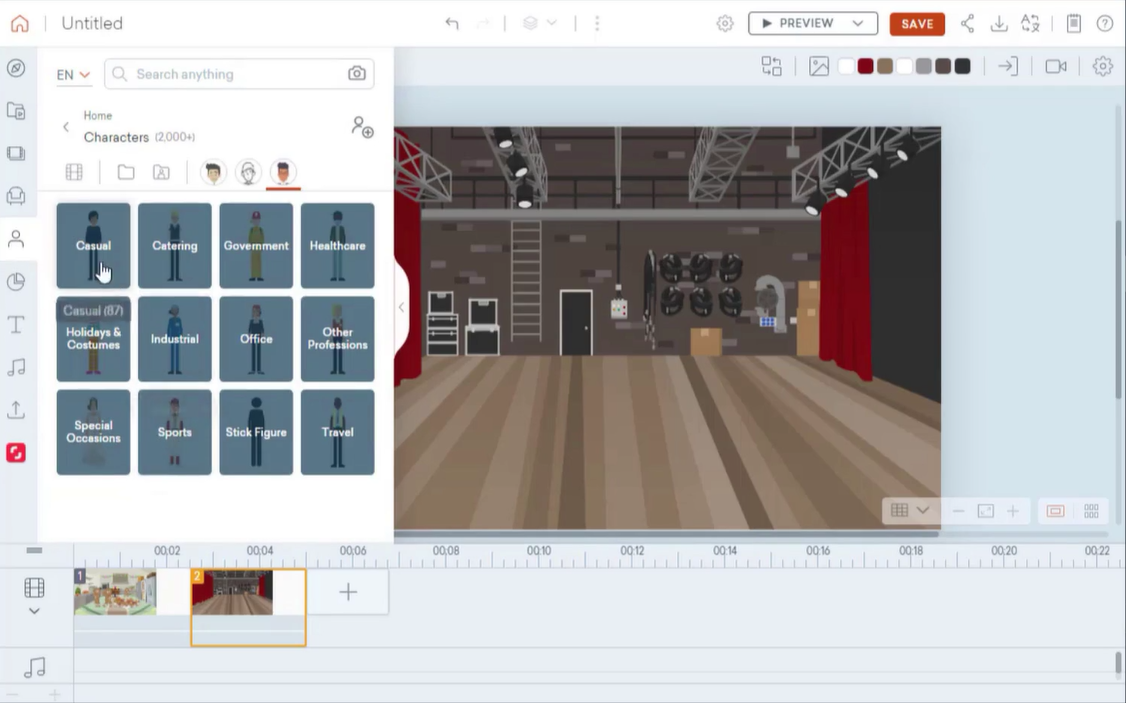
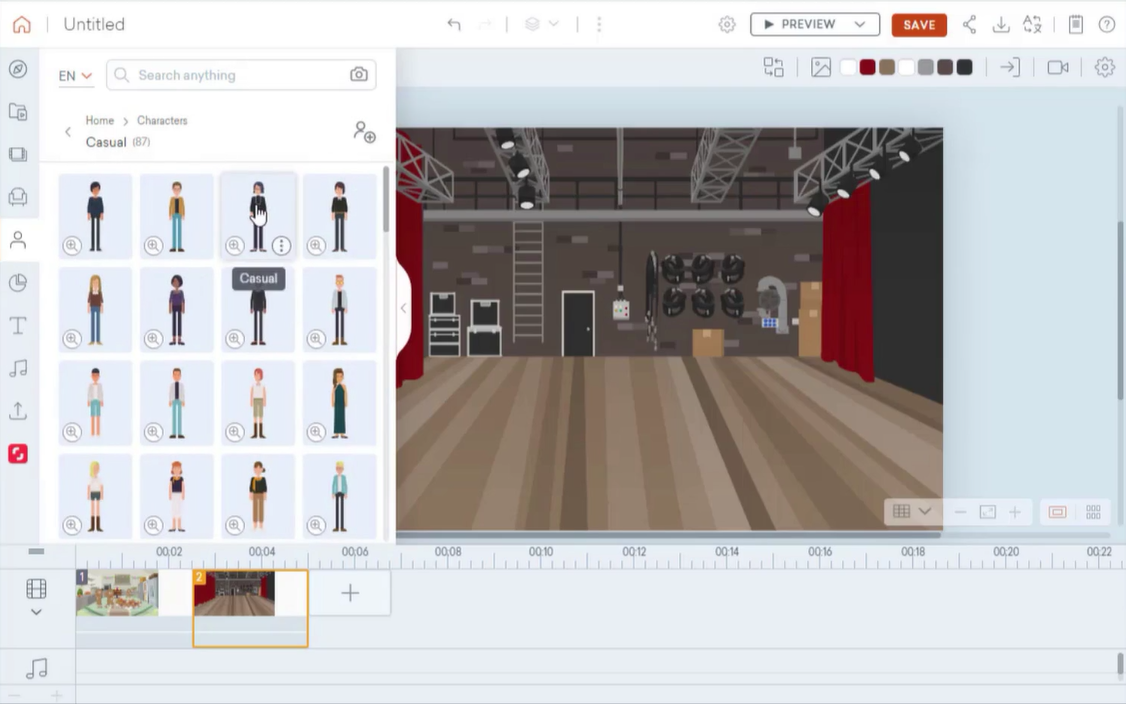
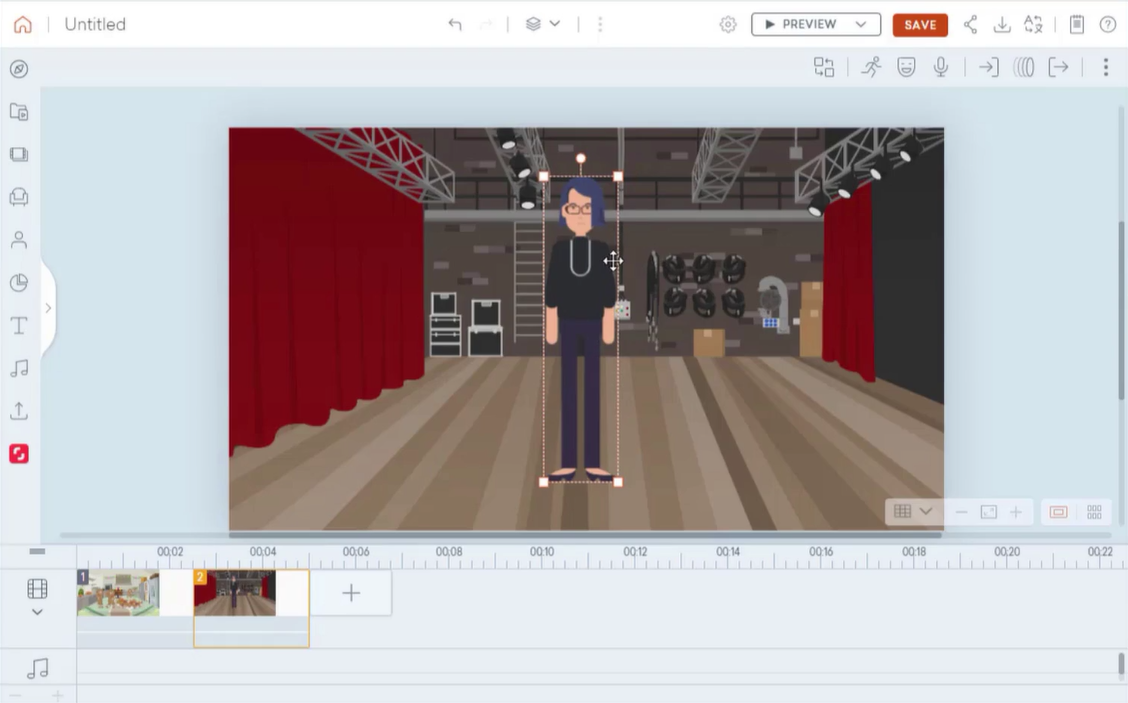
Click on the ‘character’ icon located on the left side panel, and select the ‘contemporary’ character.
Step 4:
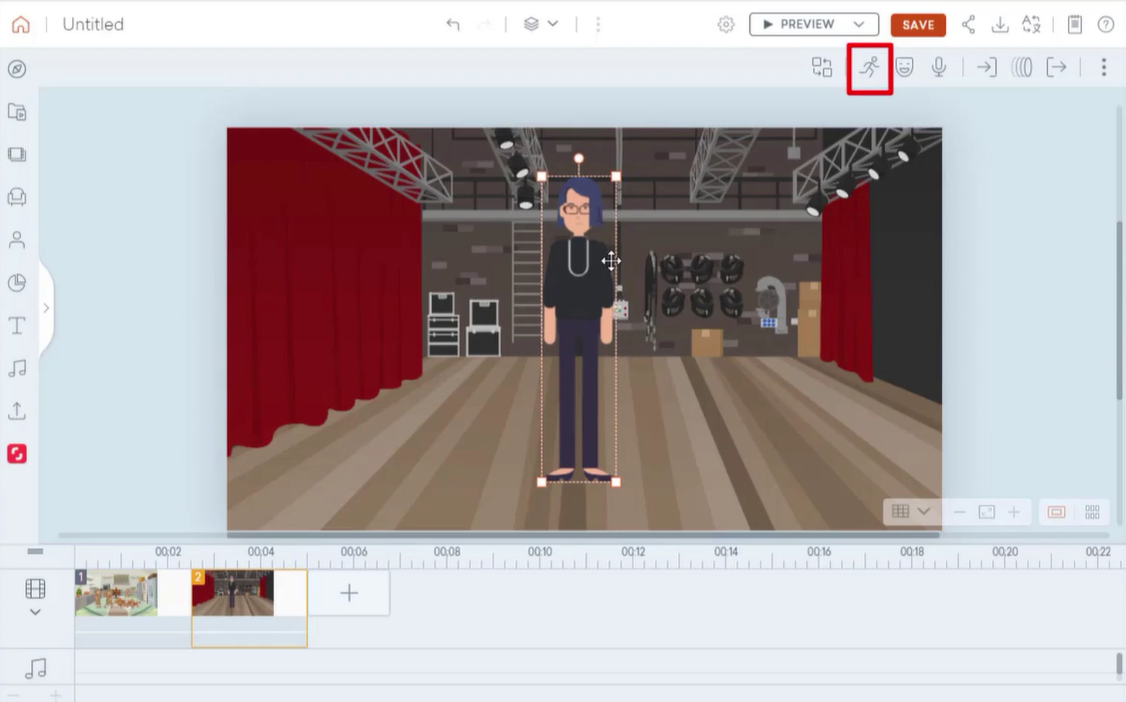
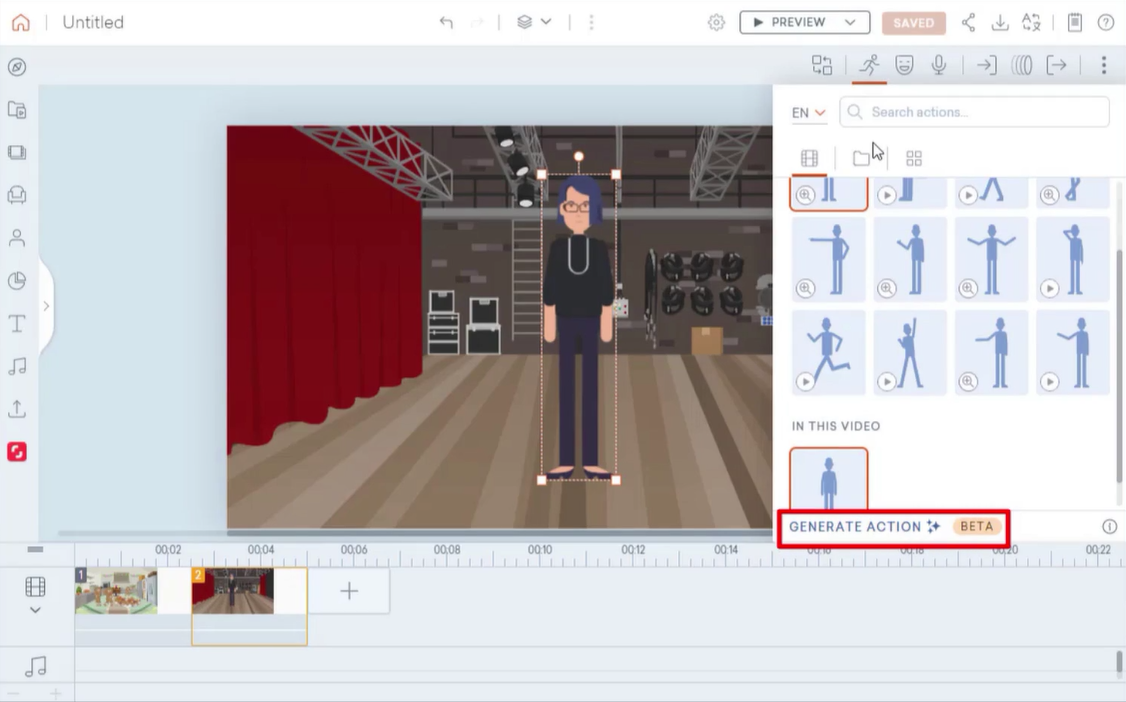
Once you have chosen your character, click on the ‘Action’ icon to open the menu. Within the action menu, find the ‘GENERATE ACTION’ button and click to proceed.
Step 5:
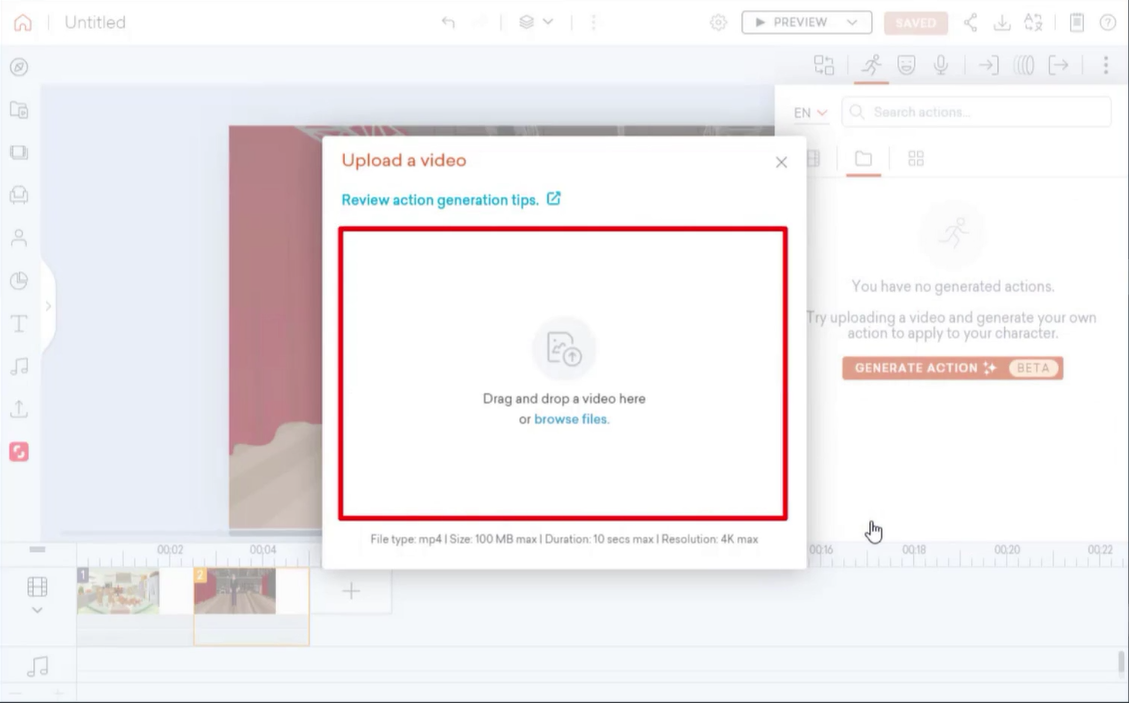
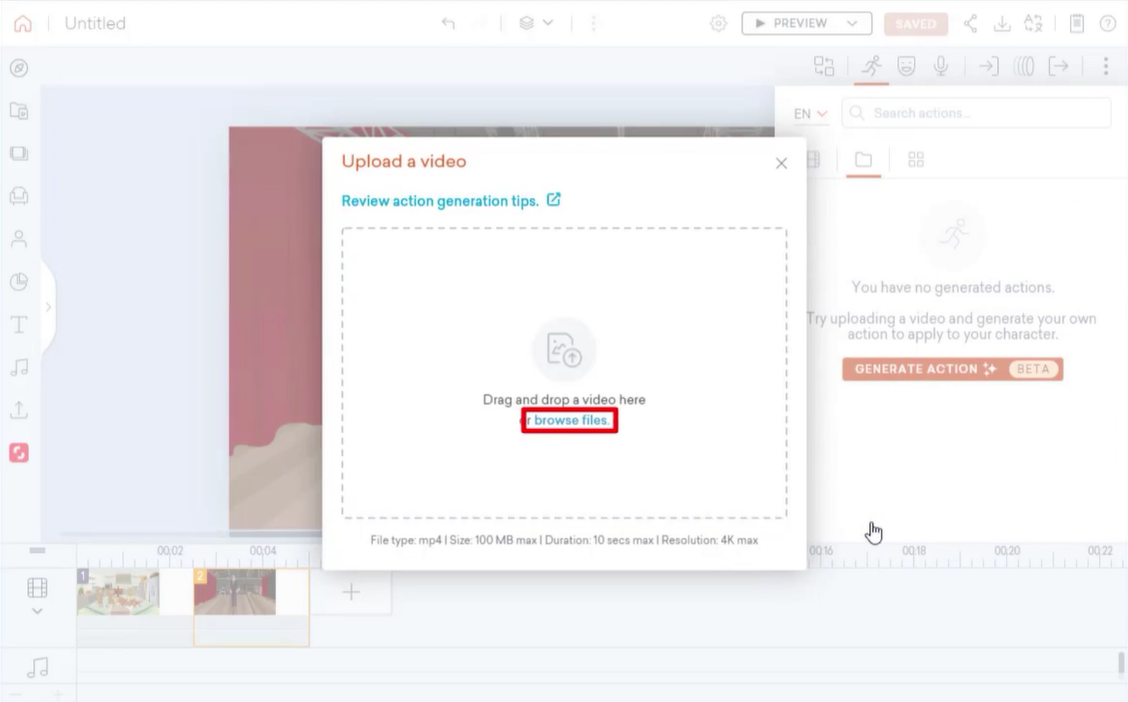
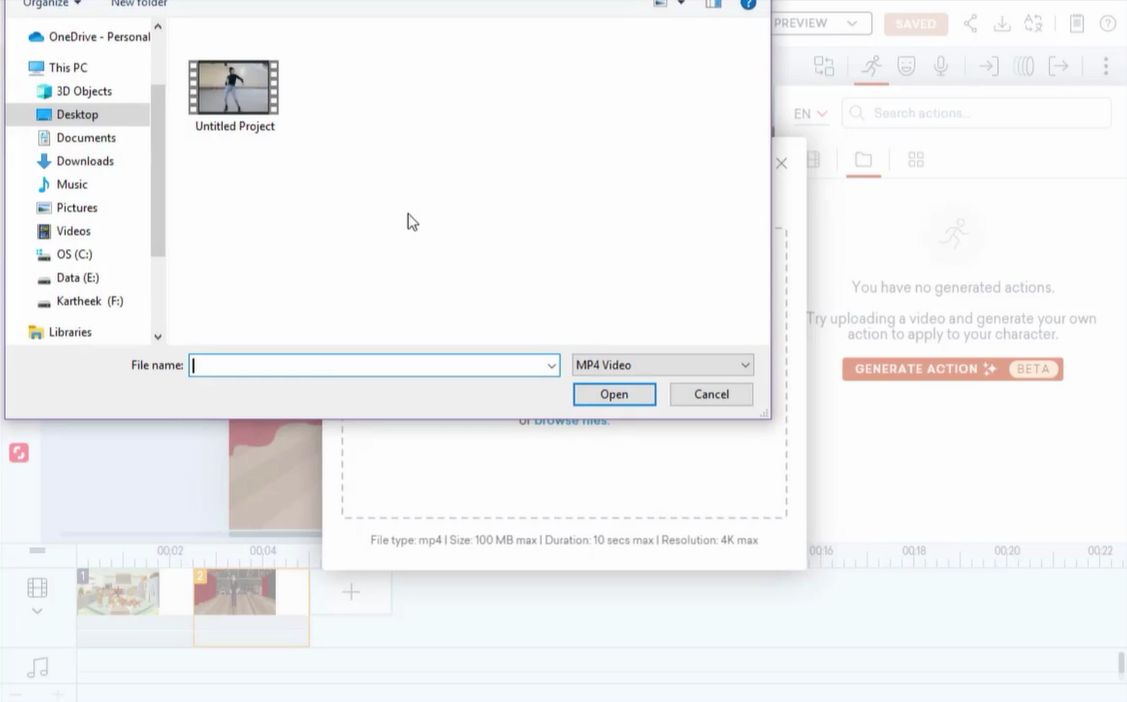
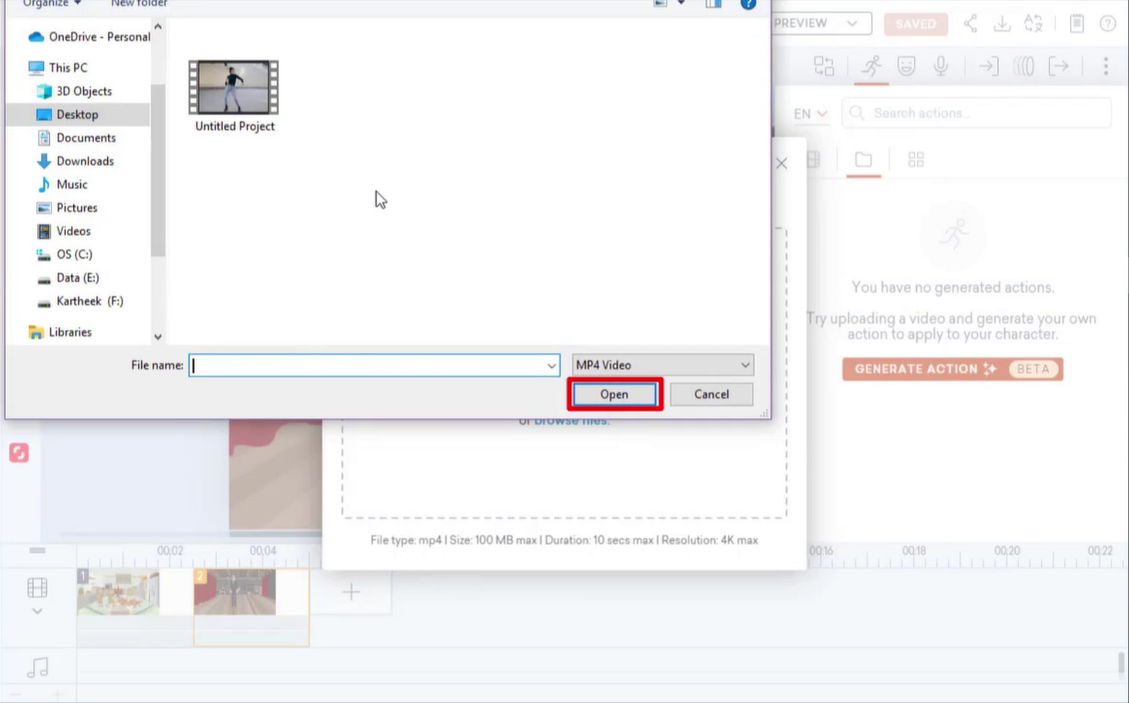
Place the video either by dragging and dropping it into the designated area or by browsing your files and selecting the desired file.
Step 6:
Before finalising your video, review it to ensure it is the correct video.
Step 7:
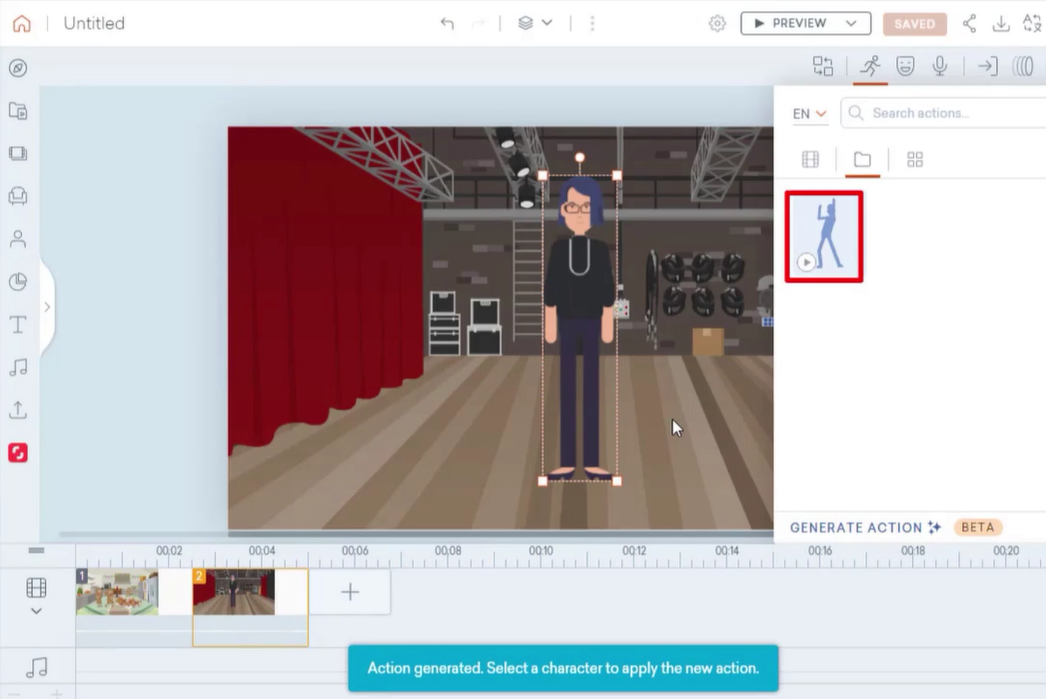
Next, select the video and open it to generate the action.
Step 8:
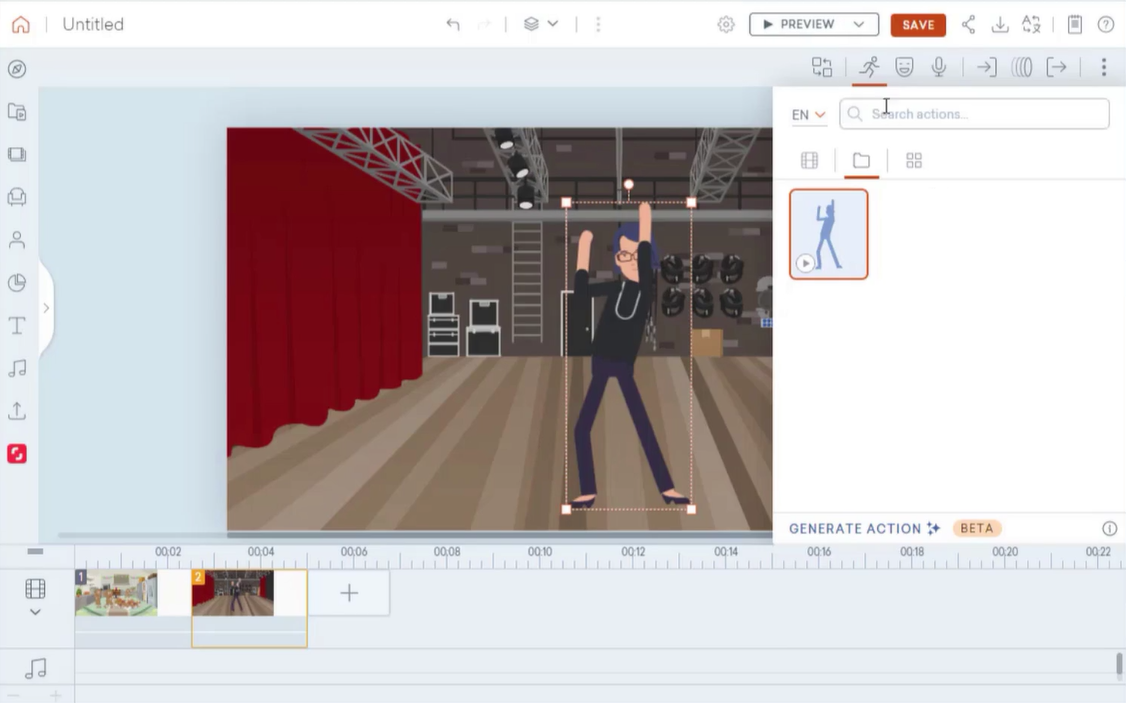
Select the desired action from the available options.
Step 8:
Select the desired action from the available options.
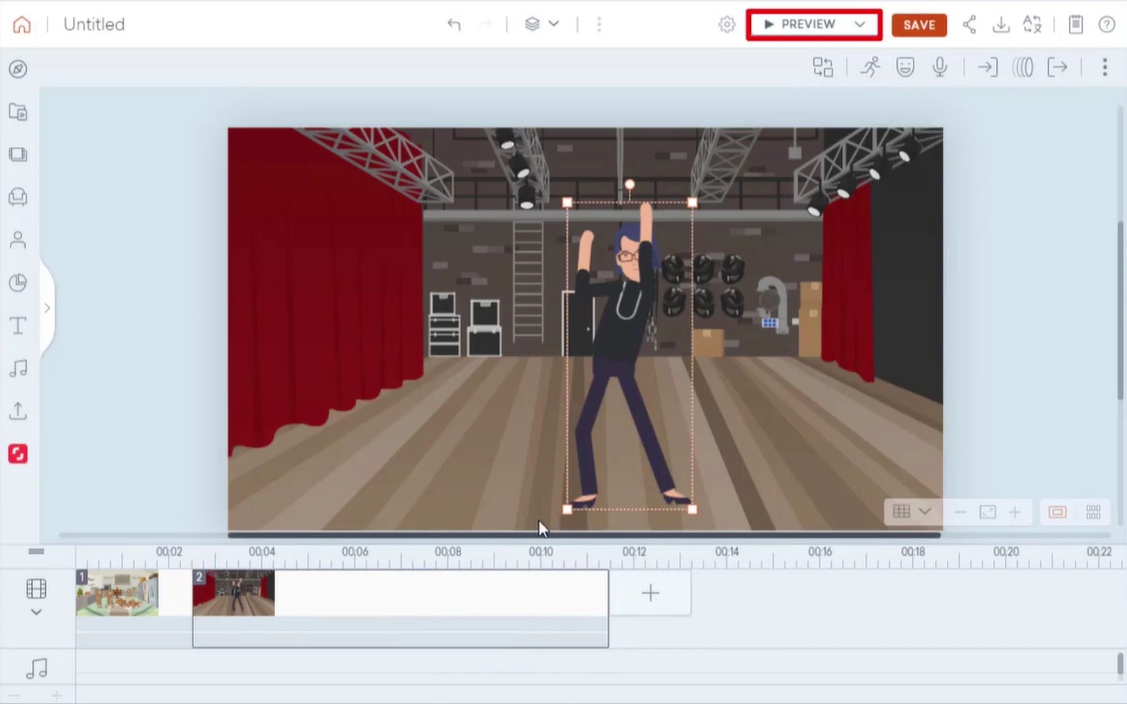
Step 9:
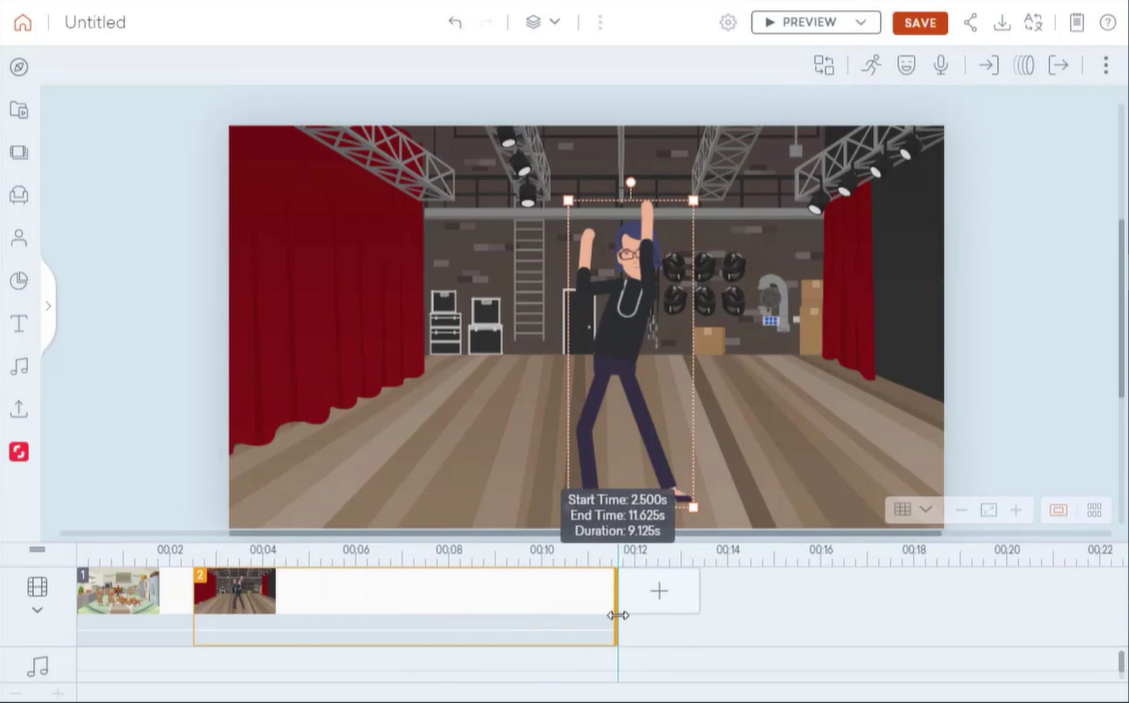
Finally, preview the entire video with the implemented action.
Conclusion
In conclusion, Vyond’s “Generative Action” feature stands as a powerful tool for custom eLearning development, offering a user-friendly and efficient solution for corporate learning. With its customizable options and seamless integration into the animation process, this feature empowers eLearning developers to create engaging and dynamic content for rapid eLearning solutions. Not only does the platform save time in the eLearning development process, but it also opens up new possibilities for imaginative storytelling within the realm of custom eLearning solutions.
Vyond’s commitment to innovation makes it a valuable asset for those looking to elevate the quality of eLearning content and deliver impactful learning experiences.




Leave a Reply
Want to join the discussion?Feel free to contribute!