Custom Dial Interaction in Storyline 360 Can Supercharge Your eLearning
 Dial interaction in Articulate Storyline 360 is a new interactivity that lets learners to interact with the eLearning content either by manipulating the data or by exploring the relevant content. This new eLearning interactivity boosts learner engagement in the most innovative manner and brings an effective eLearning experience. Dials are quite parallel to sliders that came with Articulate Storyline 2. But the fun part of dials is they move in a circular path unlike sliders which move along a straight path.
Storyline 360 itself ships with a couple of pre-built dials ready for us to use them in eLearning development.
Did you know?
“Storyline 360 allows you to literally convert any image or shape into a dial leaving a lot of scope to create anything you can dream of.”
As eLearning developers, we always love to customize everything we build in our eLearning courses. So, we will now create something similar with the brand new dial feature.
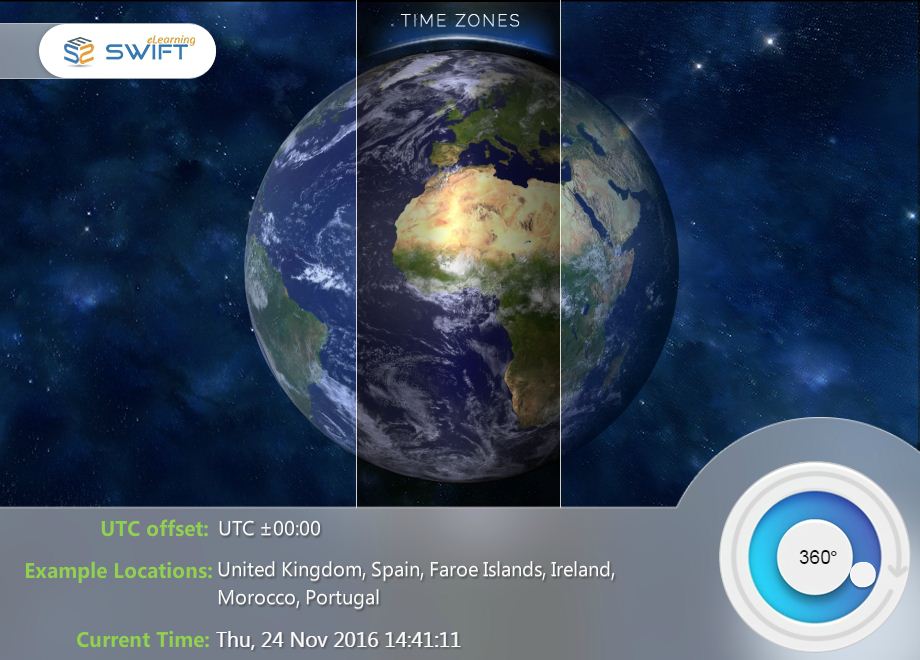
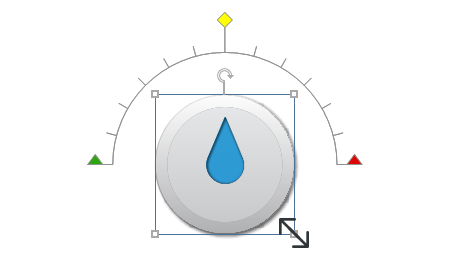
Before we dive deep into the building process, let’s have a quick peek at our finished product.
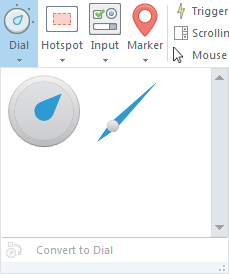
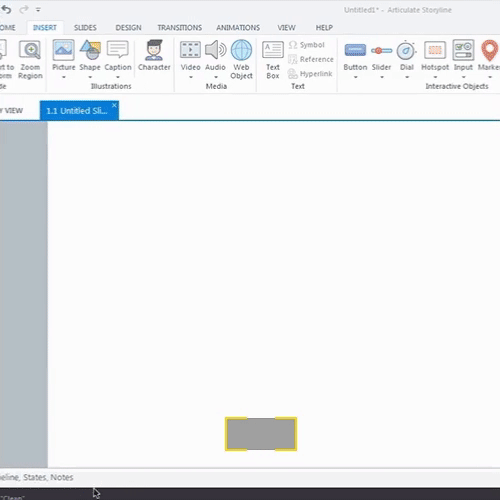
Inserting a Pre-built Dial
- Go to insert ribbon
- Open Dial menu
- Choose the one you like
- Start drawing on stage just like any other shape
You can also format these dials by changing their look and feel, just like any other shape or slider in Storyline environment.
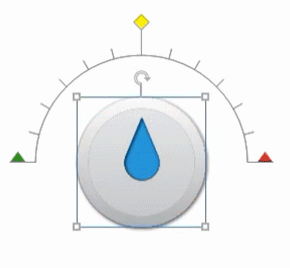
Resizing a Dial and Moving Its Rotation Point
- Resize a dial using the transform points on 4 corners of the dial face.

- Next, adjust the initial dial pointer position with the yellow handle or by changing the number in Dial Design ribbon.

- You can also adjust the orientation of the dial from an arc to a total circle or even something between an arc and circle using red and green handles on both ends. We can also make this change by setting a value in rotation field in Dial Design ribbon.
Now that we have created a dial, let’s move on to build a custom dial interactivity.
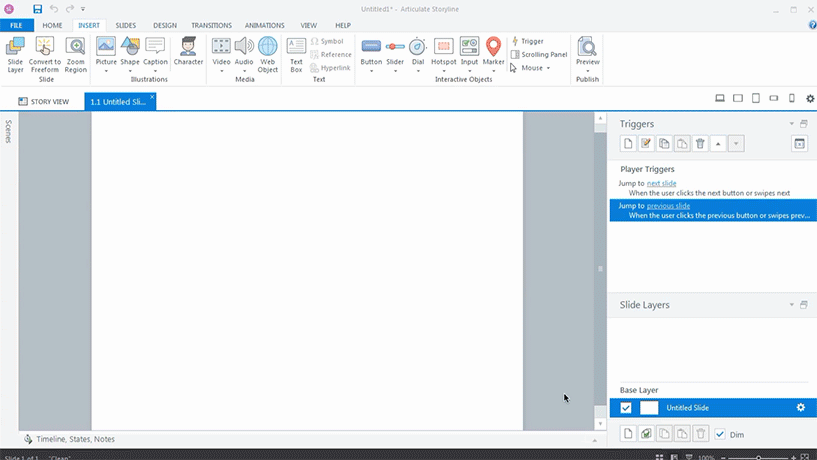
Steps to Create a Custom Dial Interaction
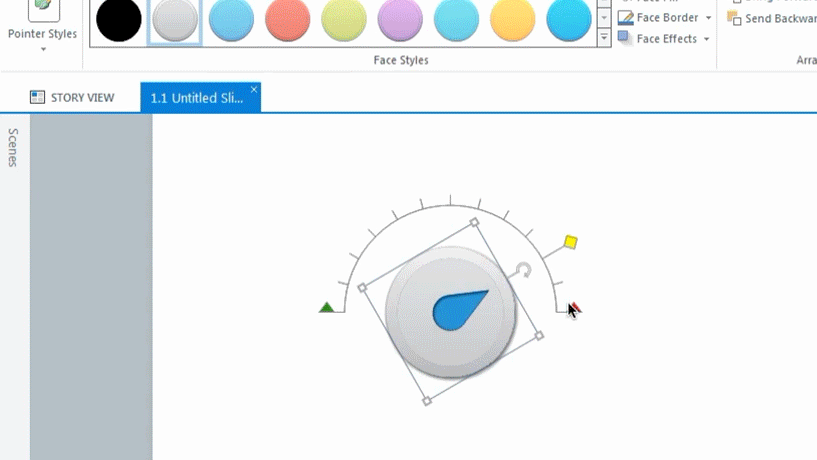
- Insert the face image of your dial
- Draw a small circle shape using Storyline 360 shapes. We will use it as a handle for your dial
- Format circle’s appearance to match the face of your dial
- Adjust the position of the circle
- Leaving the circle as selected, navigate to “Insert” ribbon and open “Dial” menu
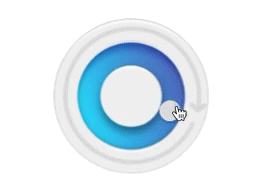
- You will find an option at the bottom saying “Convert to Dial”. Click on it and let the Storyline do its magic
- Once the dial is created, you will see black crosshairs in the center of the dial by default. Move black crosshairs to the center of the image we have imported as the face of your dial
- Once you are satisfied with positioning of the “rotation center”, we can now change the default arc to the circle by updating the rotation angle from 180 to 360
- You can now also increase or decrease the end value. I gave 90 as an end value, but it is totally your choice and it depends on the situation where you are going to use this dial
- That’s it, we just created a custom dial. You can preview and test your master piece
This dial interactivity provides a limitless possibilities to showcase our creativity in building interactive eLearning. Based on the dial interaction concept, we have created a sample interaction.
What do you think about this dial interactivity in Storyline 360? How can this be used in a more meaningful manner? Share your ideas with us.
Our Services: Convert PowerPoint to eLearning, Learning Management System, Rapid eLearning Development
Leave a Reply
Want to join the discussion?Feel free to contribute!