How to Create a Customized Cursor in Camtasia
Click or tap on the play button below to watch the video for easier understanding.
Creating a customized cursor in Camtasia is a powerful way to make your video tutorials, presentations, and demonstrations more engaging and personalized for elearning. However the default cursor can often be mundane, but with the ability to customize it, you can add a unique touch that aligns with your brand or enhances the learning experience for your audience.
In the realm of video editing and screen recording, adding a personalized touch to your content can make a significant difference, especially in eLearning development and custom eLearning solutions. Camtasia, a widely used software renowned for its screen recording and video editing capabilities, empowers creators to customize their cursor, a valuable feature in the world of eLearning development and corporate eLearning.
Whereas Creating a customized cursor in Camtasia can serve both aesthetic and practical purposes, making it an essential tool for custom eLearning development. It can enhance viewer engagement, provide clarity in tutorials, and make your videos more visually appealing, thereby improving the effectiveness of eLearning solutions.
The process is straightforward and allows you to tweak various aspects of your cursor, including size, color, shape, and even animations, to draw attention to specific elements on the screen. This is especially beneficial when creating custom eLearning content, where instructional clarity and user engagement are paramount.
In this guide, we will explore the step-by-step process of creating a customized cursor in Camtasia.
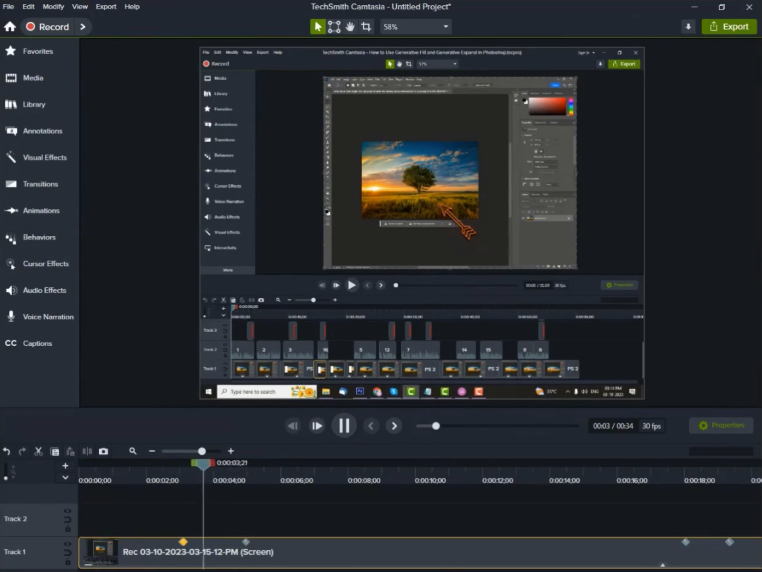
Step 1:
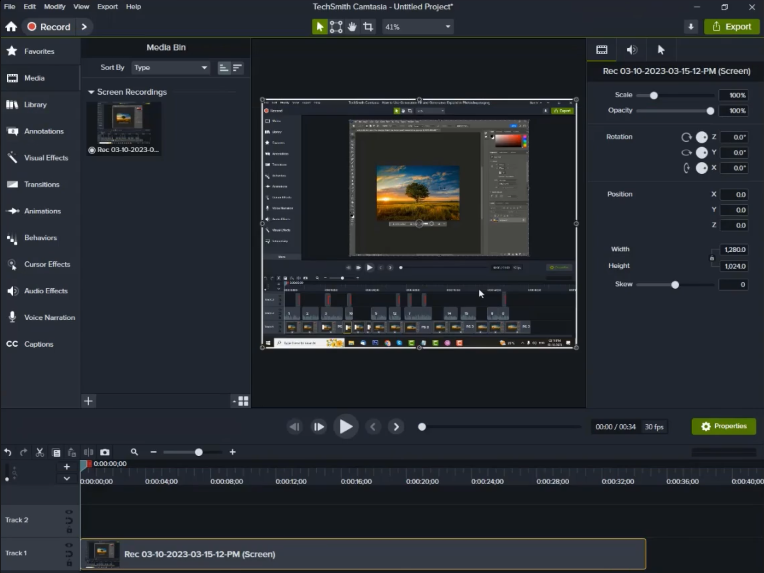
Launch the ‘Camtasia’ software, record a video using Camtasia, and import it into the media bin to change the cursor.
Step 2:
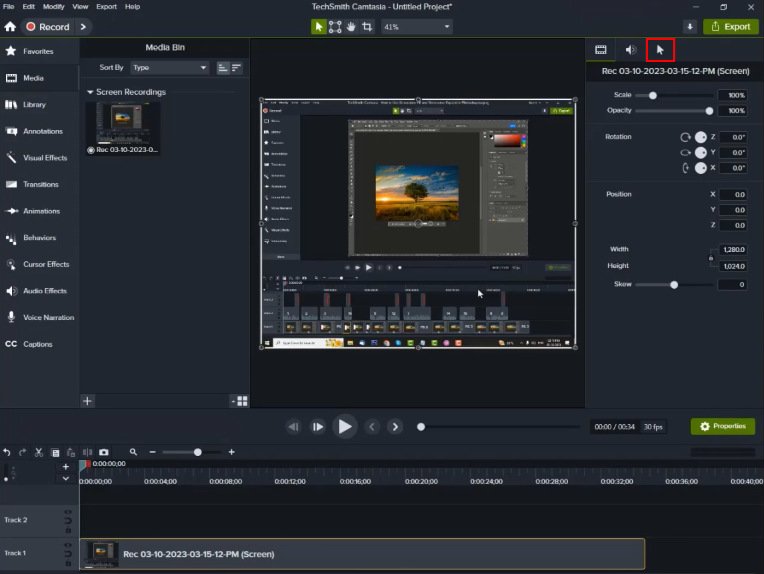
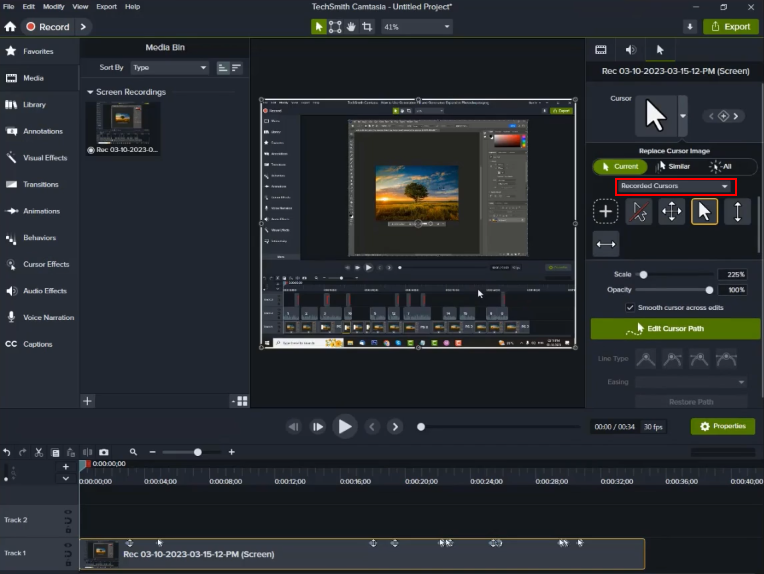
Click on the ‘Cursor’ icon in the top right-side panel.
Step 3:
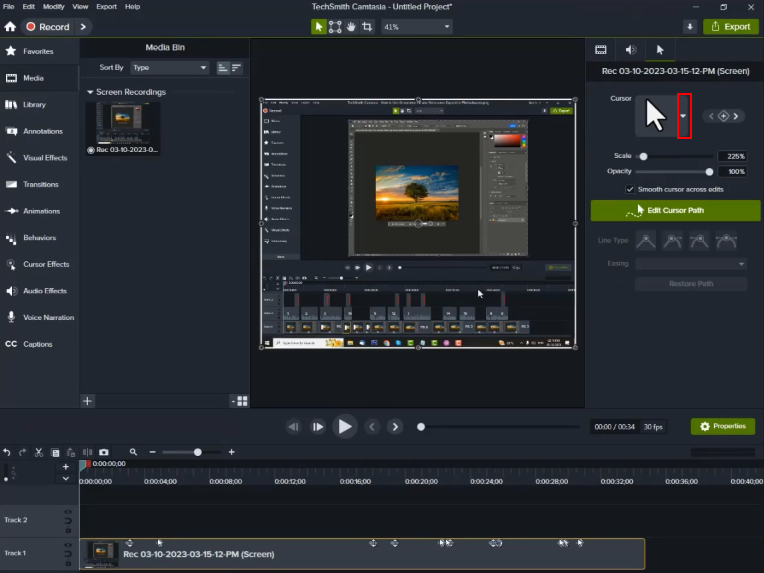
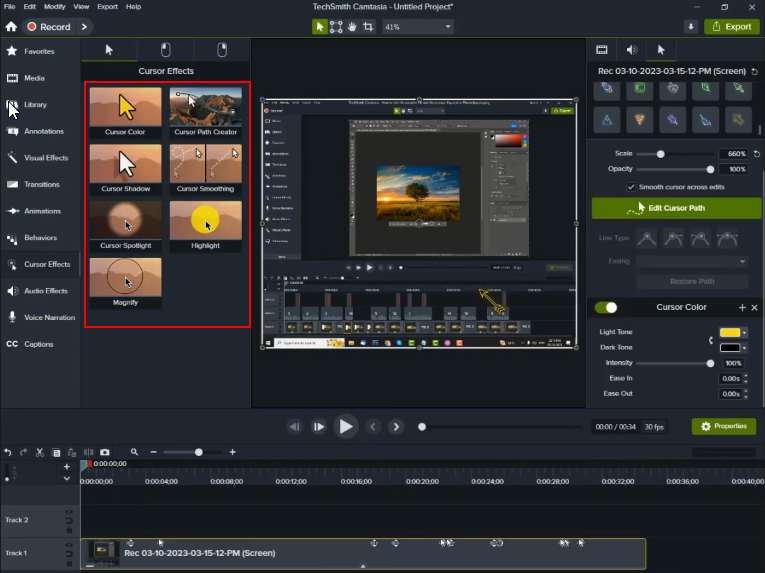
Click on the ‘Downwards’ arrow located on the left side of the cursor to access different types of cursors.
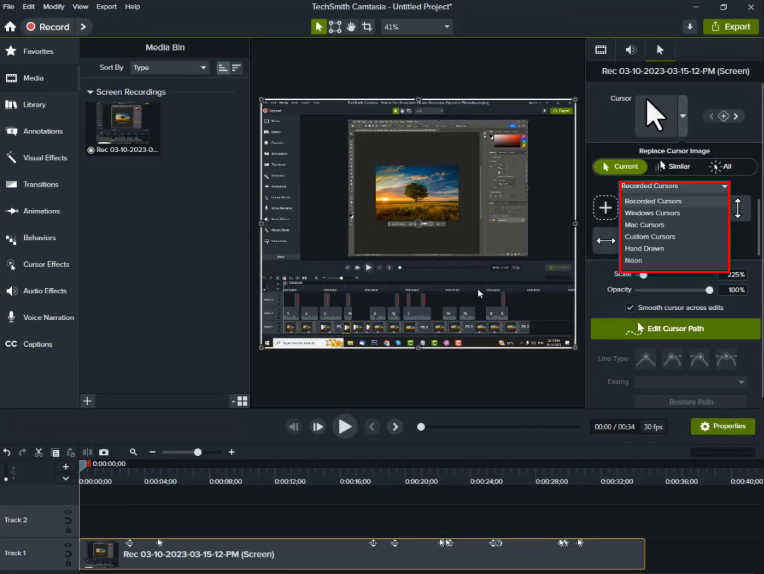
Step 4:
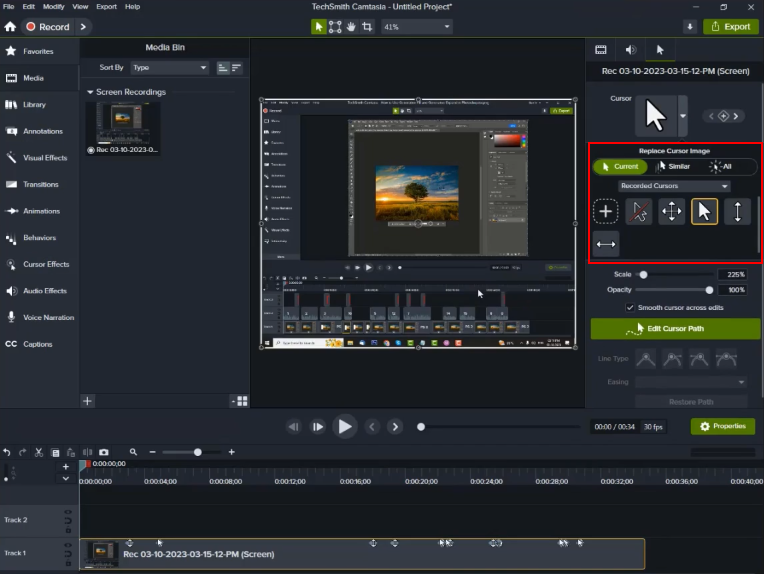
If you’re not satisfied with the cursors, click on the recorded cursor dropdown menu and choose your desired cursor symbol.

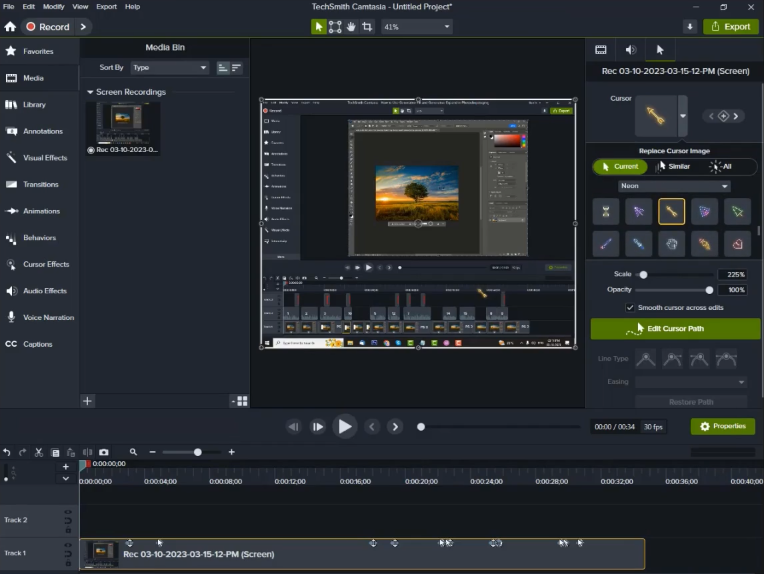
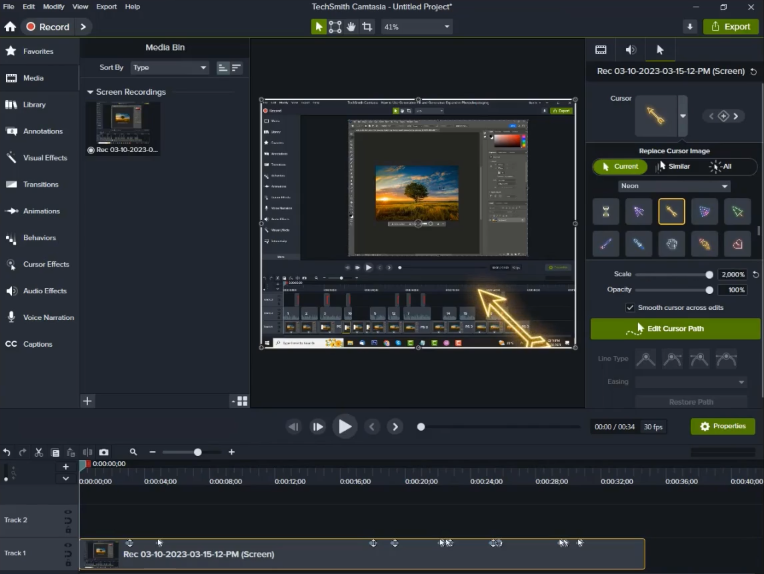
Step 5:
After selecting the cursor, you can adjust its size and opacity in the property window.

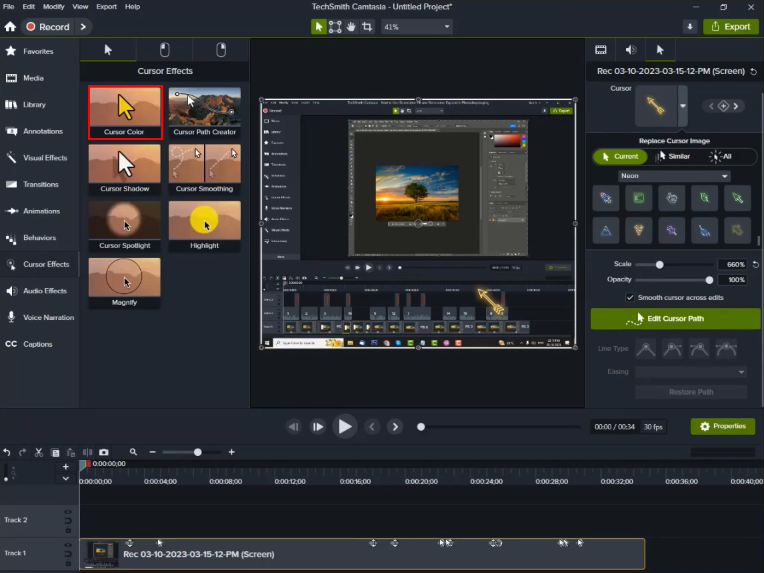
Step 6:
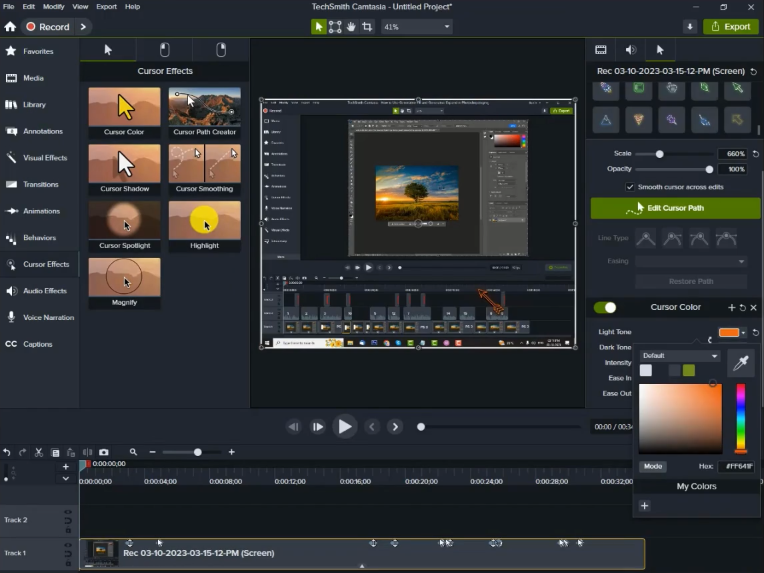
To change the cursor’s color, click on the ‘Cursor Effects’ tab in the left-side panel, select the cursor color effect, and apply it to the recorded video.
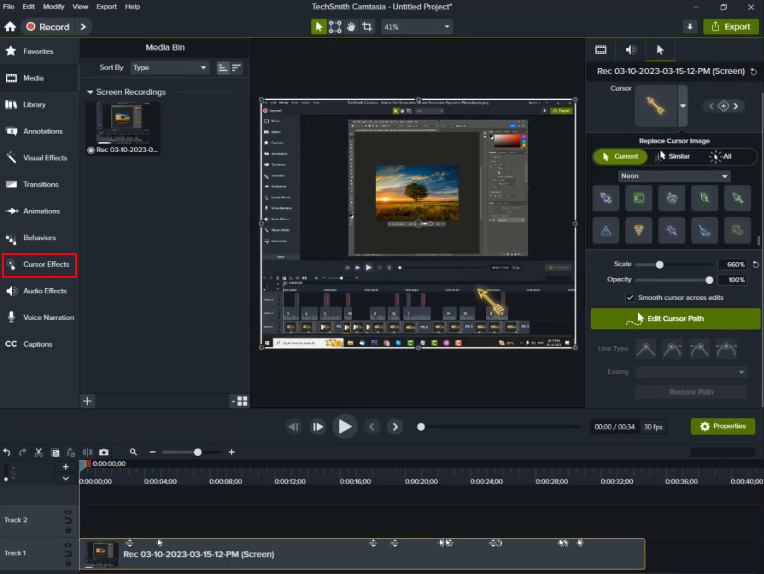
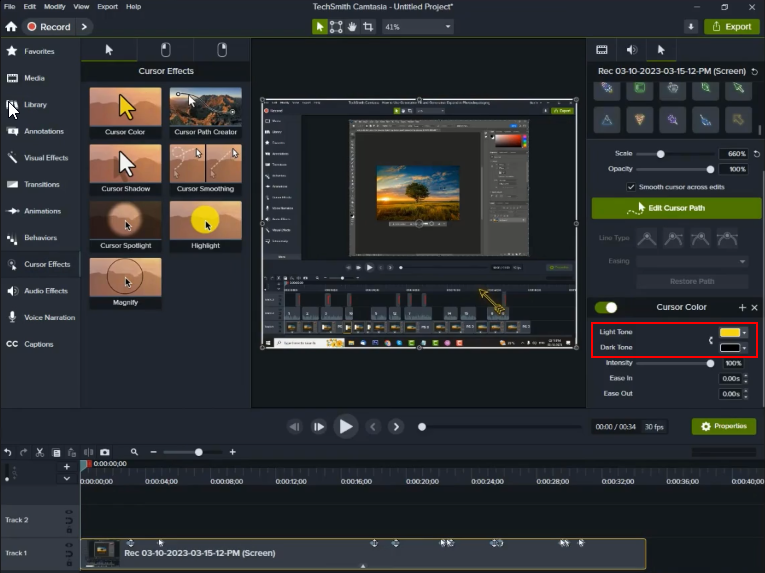
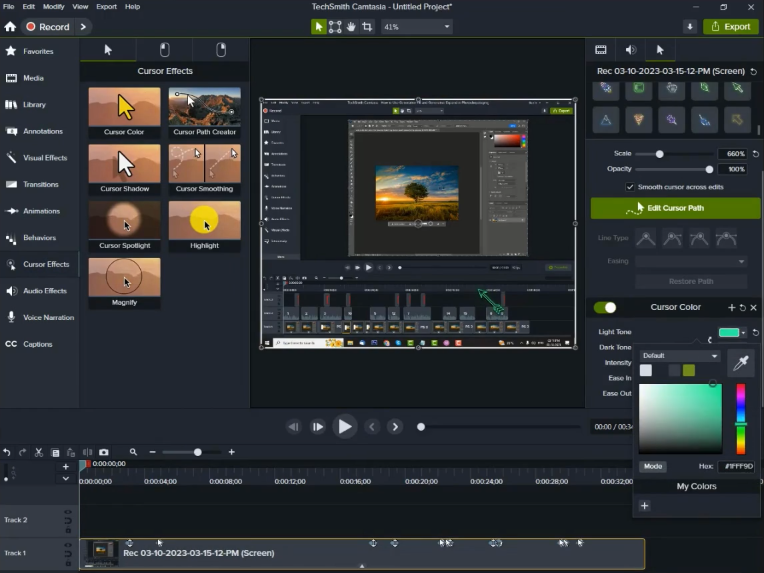
Step 7:
In the cursor color panel, you can change the cursor’s color and apply other cursor effects as needed.
Step 8:
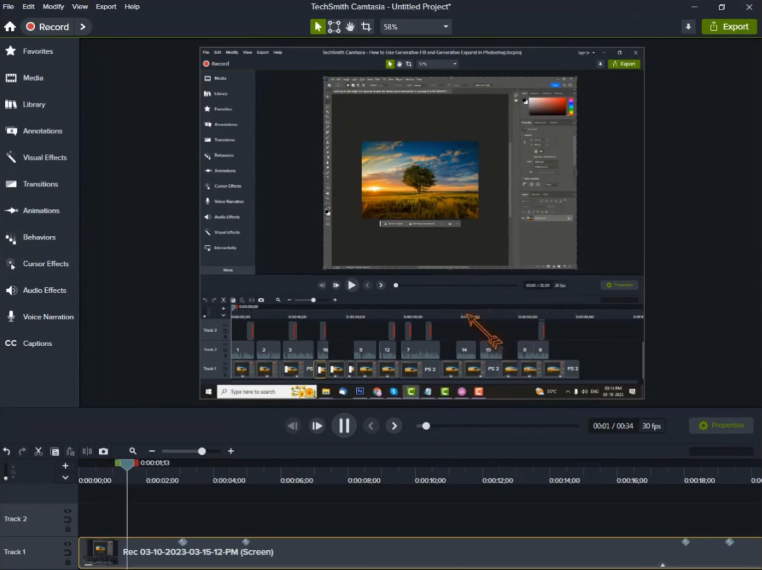
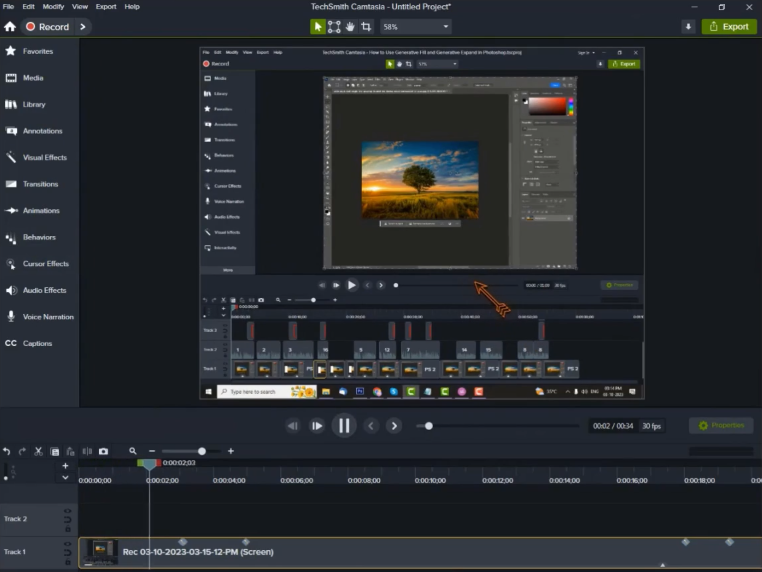
After all the changes are completed, let’s preview the video. You will be able to see the cursor effects in the video.
Conclusion:
The ability to create a customized cursor in Camtasia is a valuable tool for video creators and educators alike, especially when focused on eLearning development and custom eLearning solutions. Moreover this feature allows you to infuse your videos with a personal touch, making them more engaging and informative, crucial in corporate eLearning. Whereas camtasia’s intuitive interface and customization options make the process accessible to both beginners and experienced video editors, benefiting those involved in eLearning solutions.
By customizing the cursor’s appearance, adding animations, and fine-tuning its behavior, absolutely you can guide your viewers’ attention effectively, emphasizing critical elements on the screen.
Whether you’re creating tutorials, software demonstrations, or any other screen-based content, a customized cursor is a simple yet powerful way to leave a lasting impression on your audience and elevate your video content to new heights, especially in the context of custom eLearning development process and corporate eLearning solutions. It’s an essential tool in the arsenal of any eLearning developer aiming to deliver engaging and effective eLearning solutions.


Leave a Reply
Want to join the discussion?Feel free to contribute!